
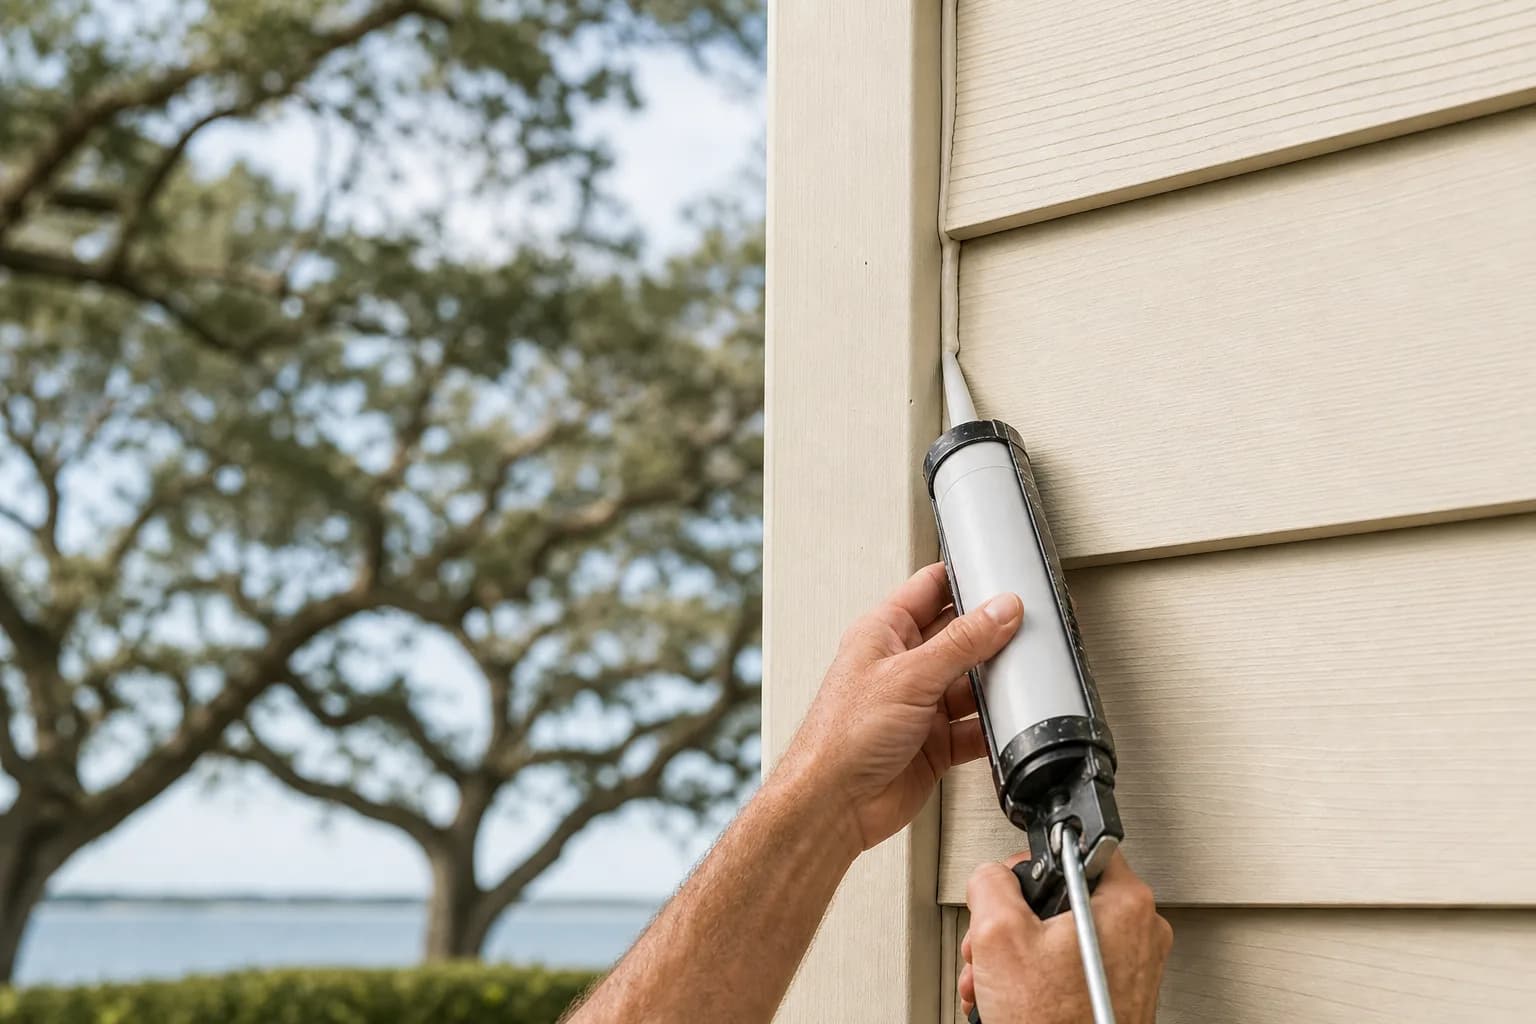
Walk a Gulf-Coast house before a repaint and the caulk lines tell you most of what you need to know. Cracked, shrunken, pulling away from the trim — that's where humidity has been sneaking into the wall for years. Caulk is the quietest part of an exterior paint job and one of the most important, because down here a bad bead doesn't just look rough. It lets salt-edged moisture straight into the seams that paint is supposed to protect. Get the caulk right and the finish lasts; get it wrong and you've sealed in the very problem you were trying to keep out.
So let's cover what actually matters: the best exterior caulk for the Gulf Coast, where to caulk before painting, and — just as important — where to leave the gaps open on purpose.
The best exterior caulk for painting on the Gulf Coast
The short answer: a high-quality, paintable, flexible caulk. The two failures we see most are bargain caulk that goes brittle and splits, and the wrong type used in the wrong spot. Here's how the common options stack up for our humid, sun-baked climate.
| Caulk type | Best use on the exterior | Why it works (or doesn't) here |
|---|---|---|
| Siliconized acrylic (paintable) | Most trim-to-siding joints before painting | Flexes, takes paint cleanly, handles humidity — the everyday workhorse |
| Polyurethane (paintable) | High-movement joints, doors, weather-facing seams | Stays flexible through temperature swings; tougher and longer-lasting |
| Elastomeric (paintable) | Wide or working joints that flex a lot | Stretches without splitting; good where movement is the problem |
| Pure silicone | Avoid where you'll paint over it | Won't accept paint — the topcoat fishes-eyes and won't bond |
| Bargain all-purpose caulk | Avoid on the exterior | Goes hard and brittle, then cracks the first season it moves |
The word that decides everything is paintable. Pure silicone is great in a shower, but paint won't stick to it, so a silicone bead on the exterior leaves a line your topcoat can't cover. And no caulk — however premium — bonds to a dirty, damp, or unprimed surface. Which is why caulk doesn't go on first. The caulk and the topcoat are a team here, so it's worth pairing a flexible bead with the best exterior paint for Gulf Coast homes — both have to flex and shed water through our humidity to last.
Where should you caulk before painting?
Seal the seams where wind-driven rain works its way into the wall. On a Gulf-Coast home, those are the joints that matter most:
- Trim-to-siding joints — where window trim, door trim, and corner boards meet the siding.
- Around window and door frames — the vertical and top edges where the frame meets the wall.
- Corner boards and butt joints — the vertical seams that open up as wood moves.
- Where dissimilar materials meet — siding to masonry, trim to brick, and similar transitions.
- Gaps and cracks in trim — splits in fascia, soffit, and trim that would otherwise hold water.
Done right, caulking these joints is part of the same disciplined prep sequence that makes any coastal repaint last — the wash, scrape, repair, prime, and seal that anchor our exterior painting service. It's also a big part of why a properly prepped house holds its paint years longer than one that got a quick once-over. For the full picture of how prep beats our salt-and-sun climate, see our Mobile and Baldwin County exterior painting guide.
Where NOT to caulk — the gaps to leave open
This is the part most DIY caulk jobs get backwards, and it causes real damage. Some gaps on your house are there on purpose, to let water drain and the wall breathe. Seal them and you trap moisture inside the wall, which is exactly how you get rot, peeling paint, and a bigger repair down the road.
Leave these open:
- The bottom edges of lap siding — each course is designed to shed water; the bottom lip must stay open to drain.
- The bottom of window and door trim — water that gets behind the trim needs a way out at the bottom.
- Weep holes in brick — those small gaps in the mortar let the wall cavity drain and dry. Never fill them.
The rule of thumb: caulk the top and sides of an opening, leave the bottom open. You're directing water out, not sealing it in. Good caulking is as much about restraint as it is about coverage. It's the same coastal-moisture math we cover in how salt air and humidity shorten paint life — trapped damp is what rots wood and pushes a finish off the wall.
The caulking sequence, step by step
Here's the order we follow when we caulk an exterior before painting.
Prep and prime first
Wash, scrape failing paint to a sound edge, and prime bare wood and repairs. Caulk bonds to a clean, sound, primed surface — never to dirt, chalk, or damp wood.Remove the old failing caulk
Dig out cracked, split, or pulling caulk. Fresh caulk over a failed bead only bonds to the bad layer and lets go with it.Caulk the joints that should be sealed
Run a smooth bead where trim meets siding, around window and door frames, and at corner boards — the seams where wind-driven rain enters the wall.Leave the drainage gaps open
Do not caulk the bottom edges of lap siding, the bottom of window and door trim, or weep holes in brick. Those gaps let trapped moisture escape.Tool the bead and let it cure
Smooth each bead so it fills the joint and sheds water, then let it cure per its rating before you topcoat over it.
Caulk well is invisible — and that's the point. It disappears into a clean finish and keeps Gulf-Coast humidity out of the seams for years. If you'd rather have the prep, caulk, and paint handled as one job that's built to last and backed by a 3-year workmanship warranty, reach out for a free in-home estimate and we'll get you a written quote within 24 hours.