
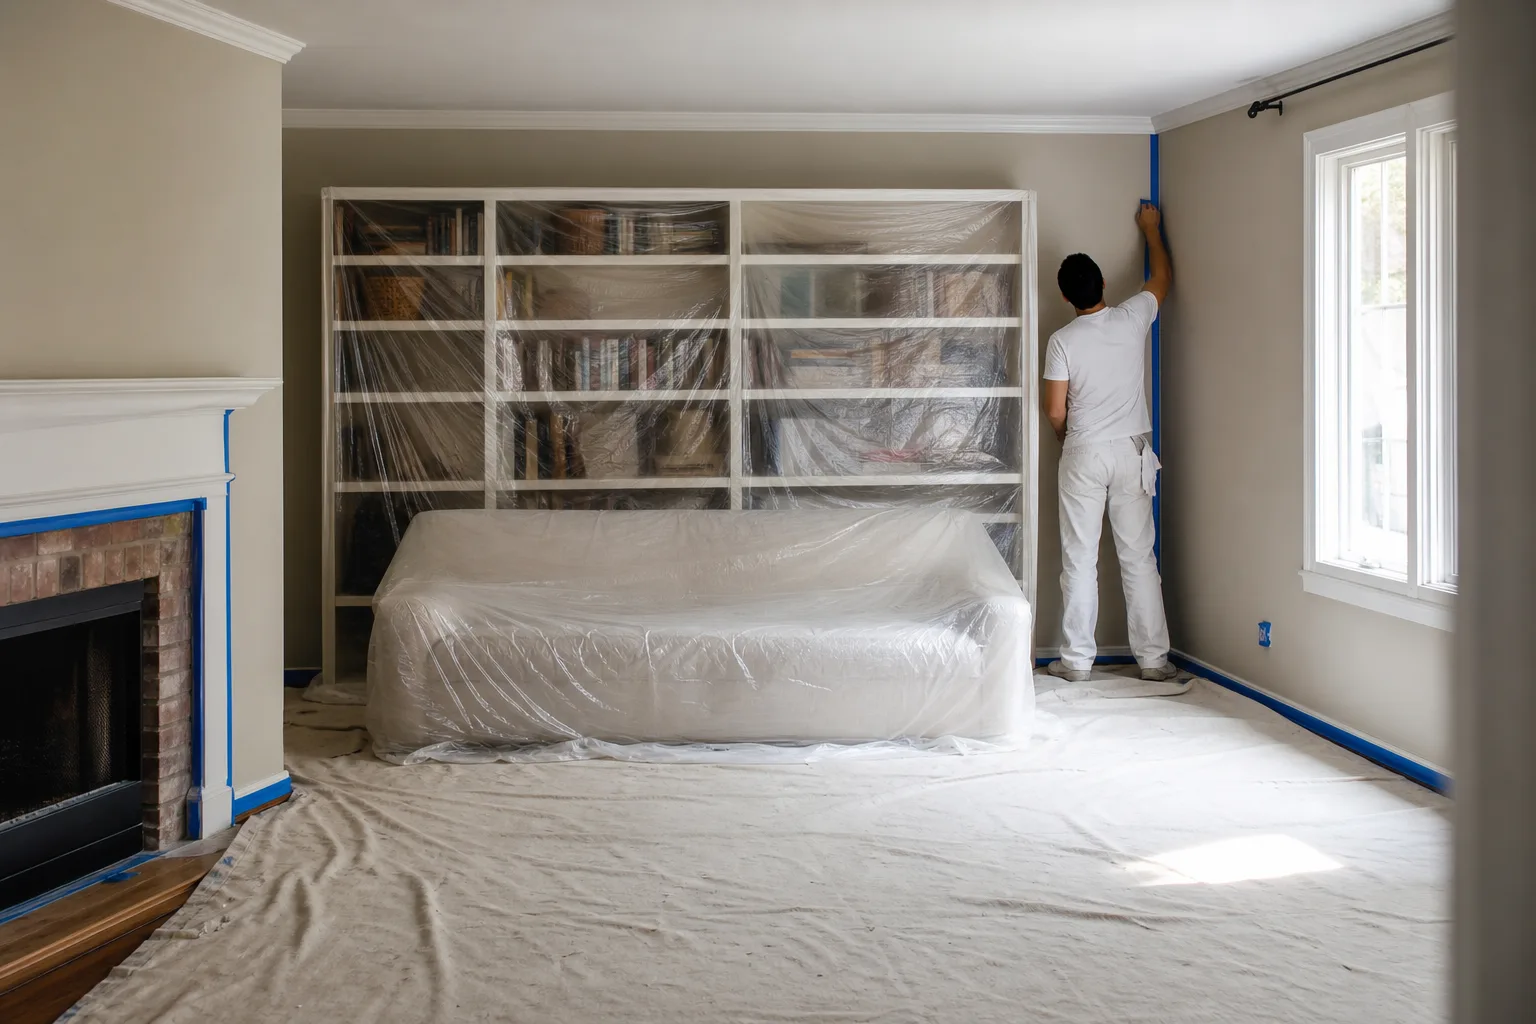
A good paint job is half about the paint and half about everything you don't want paint on. Before our crew opens a single can, the room gets locked down: floors covered, furniture wrapped, trim and fixtures masked, dust contained. Done right, you'd never know we were there except for the fresh color. Here's exactly how painters protect floors and furniture during an interior job — the materials, the order, and why each step matters.
This is the crew's side of the work. If you want the short list of what to clear yourself before painting day, our companion guide on whether painters move furniture and what to expect covers that split. This piece is about what we do to safeguard your home once we're inside.
How painters protect floors — by what's underneath
The first rule of floor protection is that the covering has to match the surface, because hardwood, tile, and carpet each fail in different ways. A generic plastic sheet over hardwood gets slick and traps drips against the finish; a loose cloth over carpet slides and tracks. So we cover by surface type:
Hardwood and laminate
Canvas drop cloths or rosin paper laid across the whole work path. Canvas grips, breathes, and soaks up a drip before it can pool against the finish — and unlike plastic, it won't get slick underfoot.Tile and vinyl
Canvas or paper taped at the seams so nothing slides and no paint creeps into the grout lines. Grout is porous and stains permanently, so the goal is zero contact.Carpet
Self-adhesive protective film or taped-down cloths. Film is the right call on carpet because it stays put and seals the fibers off, where a loose cloth would shift with every footstep.Doorways and transitions
We tape seams where coverings meet at thresholds so paint can't track from the work zone into the next room on the bottom of a boot.
We cover the full path the crew walks, not just the square foot under the ladder. Most floor mishaps don't happen at the wall — they happen on the way to the paint tray.
How do we protect furniture and built-ins?
Anything that stays in the room gets covered before a brush moves. After we slide the large pieces to the center and pull them off the walls, every one gets wrapped in plastic sheeting so no dust, spatter, or overspray can reach it. The plastic is taped closed at the seams, not just tossed over the top, so fine sanding dust can't sift in underneath.
Built-ins are where homeowners worry most, and rightly — you can't carry a mantel or a wall of shelving out to the garage. So we cover them in place. Mantels, bookcases, kitchen islands, and large fixtures get draped and taped right where they sit. The same goes for anything fragile we'd rather not have you move: tell us about it, and it gets protected, not relocated.
Masking, dust containment, and crisp lines
Floor and furniture protection keeps paint off your stuff. Masking is what keeps paint exactly where it belongs and gives you clean lines instead of ragged ones. Before we cut in, we tape off baseboards, outlets, switch plates, door hardware, HVAC vents, and light fixtures. Only the surfaces we're actually painting stay exposed.
There's a craft to the tape itself. Tape pressed down firmly along its edge seals out bleed and gives you a sharp line; tape laid loose lets paint creep under it and leaves a fuzzy edge. We run a finger or a tool down every length of tape so it bonds before we paint, and on freshly painted trim we pull the tape while the next coat is still workable so it releases the line cleanly instead of tearing it. Small details, but they're the difference between crisp and ragged.
Dust is the other half people forget. Sanding old walls and trim throws a fine dust that will drift through a whole house if nothing stops it. So before any sanding starts, we seal off the work zone — close and cover doorways and register vents in the room — to keep the dust contained where we can clean it up, instead of letting it settle on furniture two rooms away. Careful prep like this is most of what separates a job that looks great for years from one that looks rushed. Our interior painting service is built around it, and our interior paint prep checklist before painters arrive shows how your prep and ours fit together.
Uncovering clean — and the final inspection
Protection isn't finished until everything comes off cleanly. Once the coats have dried enough to be safe, we pull the plastic, lift the drop cloths, and remove every strip of tape — peeling it at the right angle so fresh paint lifts with the tape line, not your trim. Furniture goes back where it started. We leave the job-site clean.
Then we walk the rooms with you at the final inspection, so you can look over the floors, the furniture, and the lines, point out anything you want touched up, and confirm your home is exactly as you left it before we call the job done. For more on what it's like to be home while we work, see our guide to living in your home during an interior repaint.
Want a crew that protects your home like it's their own? Call Pro 1 Painters for a free in-home estimate and a written quote within 24 hours. We're family-owned since 2013, backed by a 3-year workmanship warranty and a 4.8-star Google rating. Pay by Cash, Check, or Credit Card.