
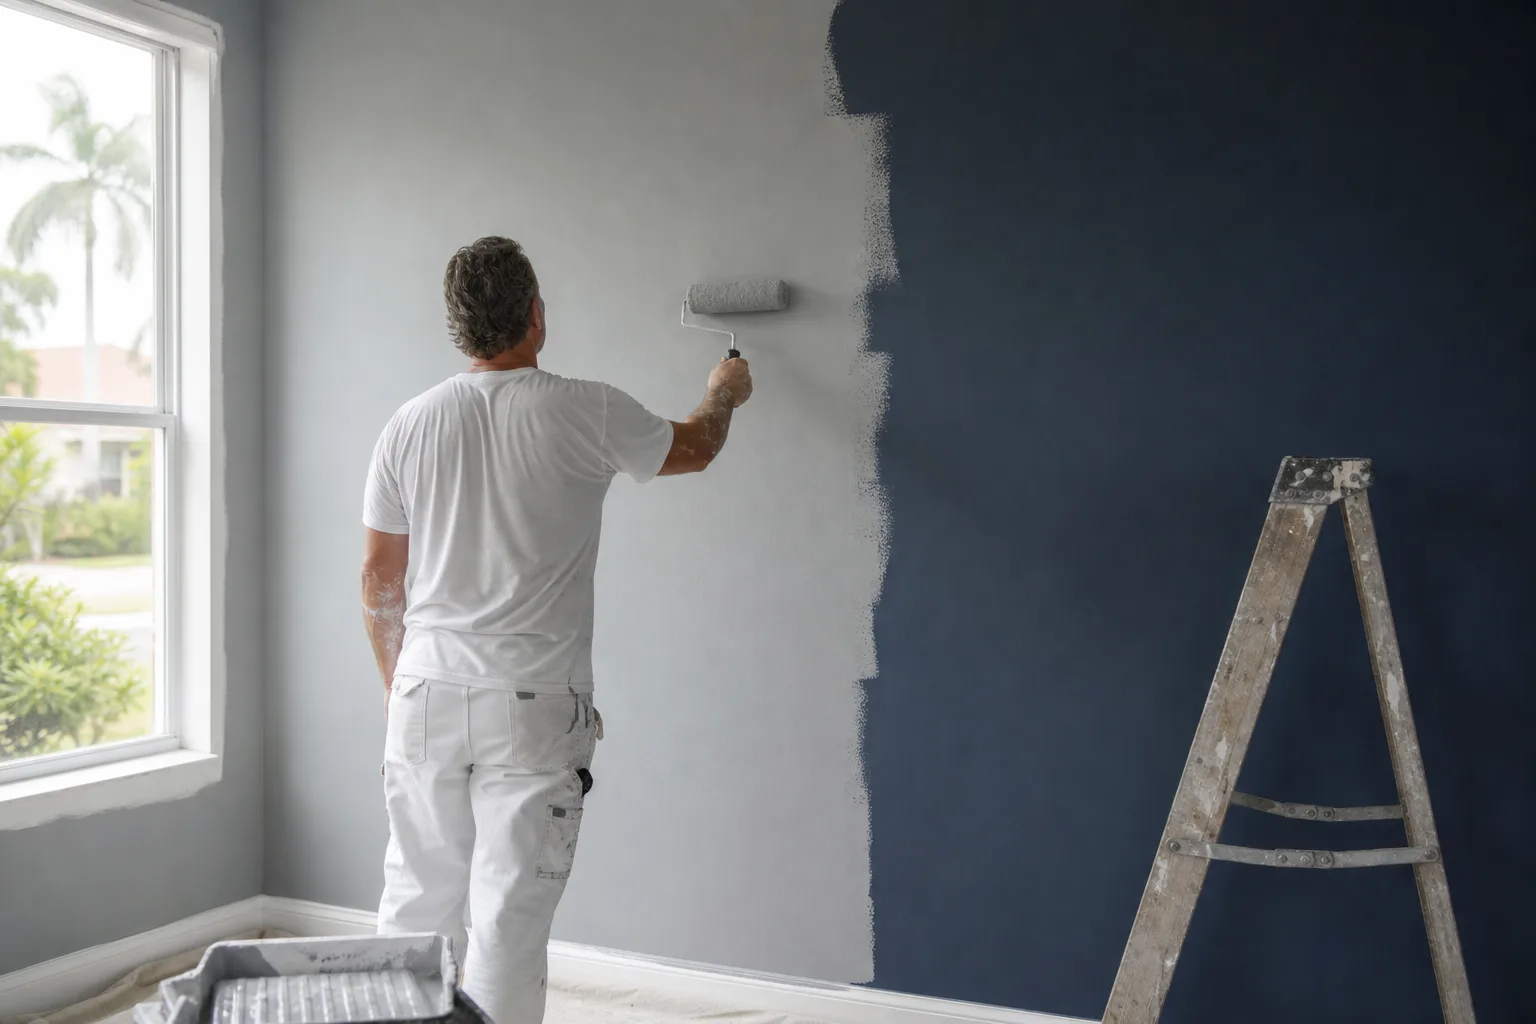
You want the deep charcoal accent wall gone and a soft white in its place, so you grab a gallon of your new color and start rolling. One coat: the charcoal grins through like nothing happened. Two coats: better, but blotchy. Three coats: still a little uneven in raking light, and you're out of paint. Painting over dark walls the brute-force way — just piling on finish until the old color quits — wastes paint, wastes a weekend, and still leaves a wall that reads slightly off.
There's a much smarter route, and it hinges on one product most people skip: a tinted primer. Get the base right and you'll cover that dark color in fewer total coats, with a finish that looks true. Here's how.
Why doesn't piling on more coats cover a dark wall?
Answer-first: light, thin-pigment colors don't have the hiding power to bury a dark shade quickly, so stacking finish coats over a dark wall is slow, expensive, and still uneven — the fix is a tinted primer, not more paint.
Pale colors — soft whites, greiges, pale blues — get their lightness from pigments that simply don't hide well. Asking a light finish to both cover a deep color and deliver its true shade is asking too much of it, so the dark wall keeps telegraphing through in patches. Each extra coat helps a little, but you're spending pricey finish paint to do a job primer is built for. The throughline runs through everything about coverage: when it feels like you need a fourth coat, you almost always needed a primer coat instead. We make that same case in how many coats of paint interior walls really need — two finish coats is the standard, over the right base.
| Approach | Typical coats | Result |
|---|---|---|
| Light finish straight over dark | 3–4 finish coats | Slow, costly, often still patchy in raking light |
| Tinted (gray) primer + finish | 1 primer + 2 finish | Even coverage, true color, fewer total coats |
| White primer + light finish | 1 primer + 2–3 finish | Better than nothing, but white under light reads cooler/flatter |
Tinted primer is the shortcut
Answer-first: a primer tinted toward your new color neutralizes the dark wall in a single pass, so two finish coats land true on an even base — usually fewer total coats than burying the color with finish alone.
Here's the move the pros use: don't make your finish paint do the heavy hiding. Have the paint store tint your primer in the direction of your new color, and let it kill the dark shade first. For a dark-to-light change, a light-to-medium gray tinted primer is the workhorse — gray has the hiding power to knock back almost any deep color, and it gives your finish a neutral, uniform surface to cover. One coat of gray-tinted primer turns a dark navy or charcoal wall into a clean, even gray; your two finish coats then read exactly like the color on the chip.
It's also just cheaper. Primer costs less than quality finish paint, so doing the covering with tinted primer and finishing with two coats uses less of the expensive can than three or four finish coats would. If you're not sure whether your particular wall even needs primer or how the surface plays in, when interior walls need primer before painting sorts out the surface-by-surface call.
How to cover a dark wall, step by step
Answer-first: prep the wall, prime once with a primer tinted toward your new color, then apply two finish coats — that sequence covers a dark wall in fewer coats than finish alone and leaves the color reading true.
Prep and fix imperfections
Clean off dust and grease, patch and sand any dings, and let repairs dry. A smooth, clean wall lets primer and finish grip and cover evenly — coverage problems often start with skipped prep.Tint the primer toward the new color
Have the store tint your primer in the direction of your finish — usually a light-to-medium gray for a dark-to-light change. The tinted base neutralizes the old color so the finish doesn't have to.Apply one solid coat of tinted primer
Cut in the edges and roll the field in one direction, keeping a wet edge. One even coat should knock the dark color back to a uniform neutral surface.Apply two finish coats
Roll your finish color in two coats, letting the first dry fully before the second. On the neutral primed base the new shade covers easily and reads true.Check in raking light and touch up
Look across the wall in daylight and under your lamps for thin spots where the old color peeks through. Touch up anything uneven before calling it done.
A couple of technique notes that keep the coat count down. Keep a wet edge — roll in manageable sections so each pass blends into the last instead of drying into a lap mark you'll have to cover again. And give each coat its full recoat time before the next; in our Gulf Coast humidity that can run longer than the can's number, and recoating too soon drags the layer below and forces you into another pass.
See the new color before you commit
Half the battle with a dramatic color change is being sure of the new color before you ever buy primer. A shade that looks perfect on a tiny chip can read completely differently across a whole wall, especially in our bright coastal light. Before you commit to the cans, try our free AI color visualizer — upload a photo of your room and preview real paint colors right on your own walls, so you're confident the soft white or warm greige is the one before the work starts.
The bottom line on covering dark walls
Covering a dark wall in fewer coats isn't about a magic one-coat paint — it's about letting a tinted primer do the hiding so your finish can do the finishing. Prep the wall, prime once with a gray-toned primer shaded toward your new color, then lay down two finish coats and the deep shade is gone for good, reading true under every light. That's three coats total instead of a frustrating four, with less expensive paint and a better result.
When you'd rather hand off the dark-to-light job entirely, that's our day-to-day. Family-owned since 2013, our interior painting crew handles the prep, the right tinted primer, and the full finish — one accountable crew from the free estimate through the final inspection, a manager sign-off before final payment, and a 3-year workmanship warranty behind our 4.8-star reputation. Book a free in-home estimate and you'll get a written quote within 24 hours. Pay by Cash, Check, or Credit Card.