
You've got the color picked and the roller ready. The only thing standing between you and a finished room is one question: do these walls actually need primer first, or can you go straight to paint? Get it wrong on the skip side and you'll see it — blotchy patches, streaks, a color that won't cover, or stains bleeding back through a week later.
This guide is about interior walls specifically, and when they need primer before painting. We'll walk the five situations where a wall genuinely needs a primer coat, the times you can safely skip it, and a quick decision table you can check your own room against. If you want the deeper rundown on primer types — water-based, oil, shellac, bonding, and which product does what — we cover that in our companion guide on when you should prime and when you can skip it. This one keeps the focus tight: your walls, prime or not.
When walls need primer before painting
Here's the answer up front: interior walls need primer when the surface is new, repaired, stained, glossy, or about to change color dramatically. In those cases primer isn't optional — it's the coat that makes the paint cover evenly, stick, and stay looking right. The five situations below are the ones that come up on real wall jobs.
New or bare drywall
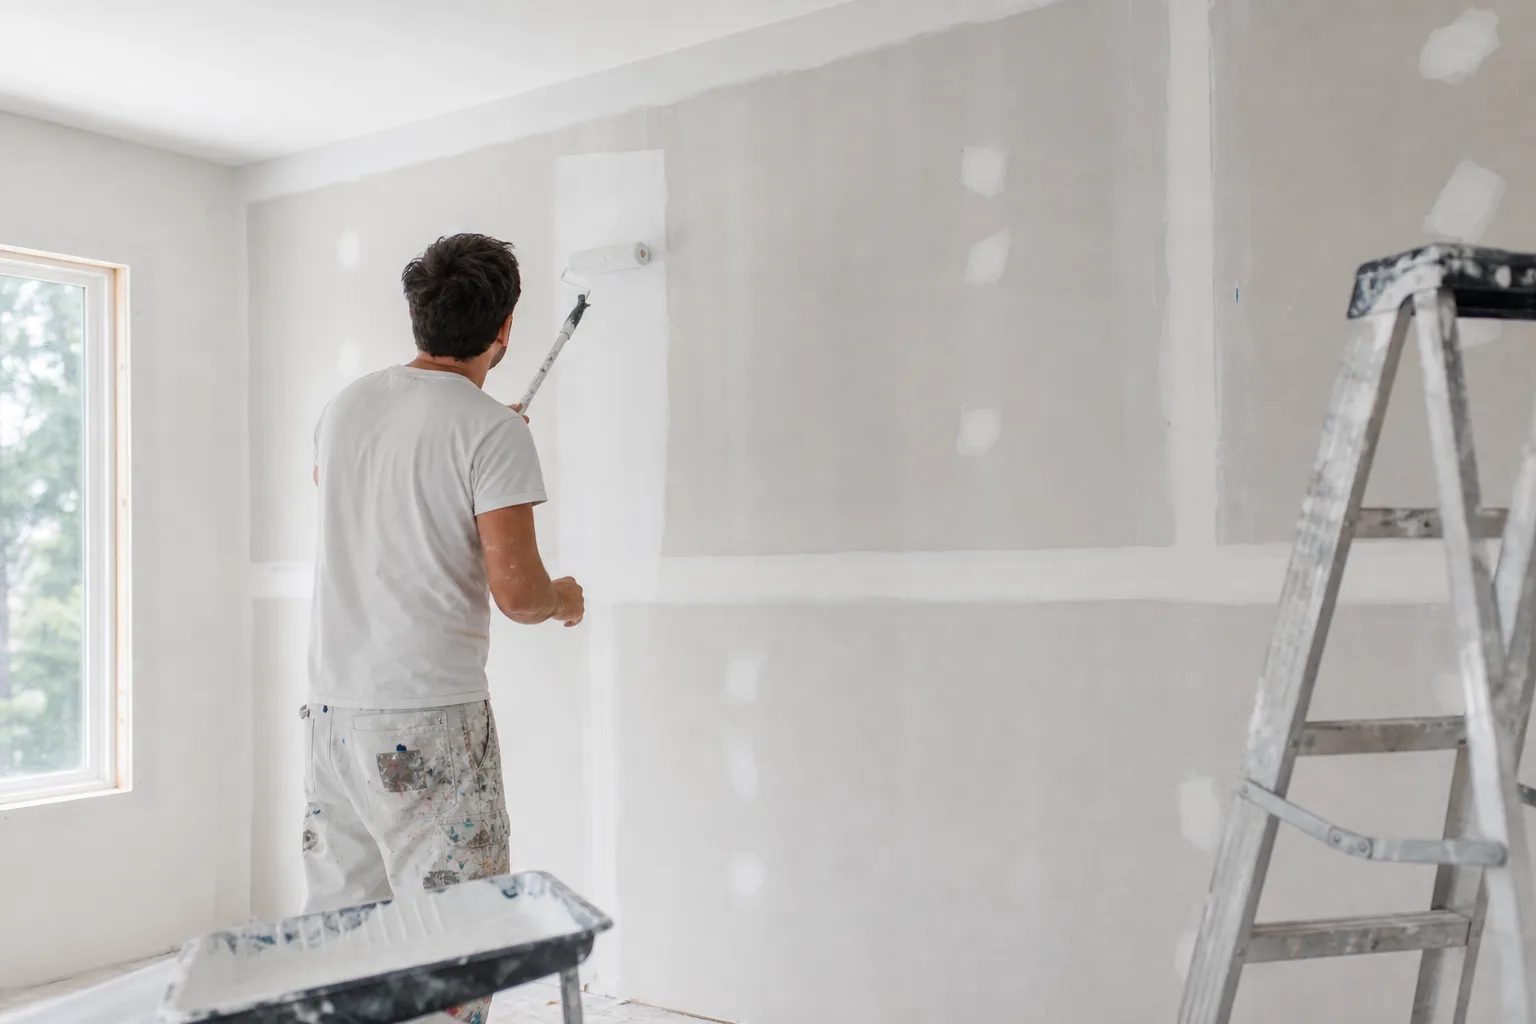
New drywall always needs primer. The paper face of the board and the joint compound over the seams are thirsty and porous, and they drink paint at different rates. Skip primer and you get "flashing" — dull, blotchy areas over the seams where the wall absorbed the finish unevenly. A primer (or a dedicated drywall primer) seals the whole surface so one even coat of color sits on top, covers in fewer coats, and looks uniform under your lights.
Patched or repaired spots
Even on an otherwise-fine wall, fresh repairs need primer. Spackle, joint compound, and skim-coated areas are porous in exactly the same way new drywall is. Paint straight over a patch and it flashes — the repair shows through as a dull spot that catches the light differently from the wall around it. The fix is simple: spot-prime the patched areas before you paint, so the absorption evens out and the repair disappears. This is why careful wall prep makes or breaks an interior paint job.
Big color changes
Going from a dark, bold, or deeply saturated wall to a much lighter one? Prime first. Primer gives you a clean, neutral base so the new color reads true instead of fighting the old one through coat after coat. Without it, covering a deep navy or a bold red with a soft white can take three or four coats of expensive finish — and still look uneven. A primer coat (tinted toward your new color for a big jump) gets you there in fewer coats and a better-looking result. For more on this, see how to cover a dark wall color in fewer coats.
Stained or marked walls
Water rings, smoke, grease, marker, crayon — these bleed straight through ordinary paint, sometimes after the coat has dried and you think you're done. Regular wall paint isn't built to block them. A stain-blocking primer seals the mark so it can't migrate up into your new finish. On the Gulf Coast, old ceiling and wall water stains from past roof or humidity issues are common, and they're a classic case where priming the spot first saves you from repainting the whole wall twice. We get into product choices in our guide to the best primer for stains, smoke, and water marks.
Glossy or slick walls
Most walls are flat, eggshell, or satin — but if you've got a wall in semi-gloss or high-gloss (or an old oil-based finish), fresh paint struggles to grip that slick surface. It may look fine going on, then scratch or peel later. The move here is to lightly scuff-sand the gloss and use a bonding primer so the new coat has something to hold onto. Slick is the enemy of adhesion, and primer plus a light sand is how you beat it.
When you can skip primer on walls
Plenty of interior repaints don't need a separate primer coat at all, and paying for one would just be extra time and cost. You can usually skip dedicated primer when all of these are true: the wall is already painted, it's clean and sound (no peeling, no stains, no fresh patches), the existing finish is flat to satin (not glossy), and you're staying in a similar color or going modestly darker. In that case, two coats of a quality paint — including a paint-and-primer-in-one — will do the job. Just treat "paint and primer in one" as good paint with extra hiding power, not as a substitute for real primer when one of the five situations above applies.
Quick decision table: prime or skip?
Check your wall against the situation that fits, and you'll know which way to go before you open a can.
| Your wall | Prime or skip? | Why |
|---|---|---|
| New or bare drywall | Prime (full coat) | Porous surface flashes and covers poorly without a sealing coat |
| Fresh patches or skim coat | Spot-prime the repairs | Porous filler shows through as dull patches if painted over raw |
| Big color change (dark to light) | Prime first | Neutral base covers in fewer coats and reads true |
| Water, smoke, grease, or marker stains | Stain-blocking primer | Ordinary paint can't stop these from bleeding back through |
| Glossy / semi-gloss / oil-based wall | Scuff-sand + bonding primer | Fresh paint won't grip a slick surface and will peel |
| Clean, sound, already-painted, similar color | Skip — two quality coats | Sound matching surface needs no separate primer |
The bottom line on priming walls
Knowing when walls need primer before painting comes down to reading the surface, not following a rule that says "always" or "never." Bare, repaired, stained, glossy, or dramatically-recolored walls need it — that primer coat is what makes the finish cover evenly, stick, and last. Clean, sound, already-painted walls in a similar color don't.
When you're unsure, look at the wall: Is it raw or patched? Is there a stain? Is it slick? Is the color change big? Any "yes" means prime. If you'd rather not guess your way through a whole house, our interior painting crew sorts the prep wall by wall as part of every job. Book a free in-home estimate and you'll get a written quote within 24 hours, with the prep — primer included where it's needed — spelled out before a roller touches the wall.