
Run your hand along any wall in an older Daphne or Mobile home and you'll feel the history — a filled-over anchor here, a hairline crack by the door, a slick patch where someone touched up with the wrong sheen. Paint won't hide any of it. A fresh coat drapes color over the wall exactly as it finds it, which is why interior wall prep is the part of the job that decides whether the room looks sharp for years or looks tired by next summer. The topcoat gets the credit; the prep does the work.
This guide is about interior walls specifically — cleaning, patching, sanding, caulking, and spot-priming the surfaces you live with every day. For the broader rundown that also covers wood, metal, and exterior surfaces, see our companion guide on why surface prep is the most important step before painting. Here we keep it tight to the walls in your living room, hallway, and bedrooms.
Why wall prep makes or breaks the finished paint
Here's the answer up front: paint is thin and honest, so the wall under it has to be right before a roller ever touches it. A gallon of premium finish can't fill a dent, bridge a crack, or grip a greasy spot. It only adds color and a little protection. Everything you skip in prep, you see in the result — usually a week or two later, once the paint has dried flat and the light hits it.
That's the hard truth behind the painter's rule that prep is most of the job. The walls that photograph clean and stay that way aren't the ones that got the most expensive paint. They're the ones where someone took the time to wash, fill, sand, caulk, and prime first. Get the wall right and an ordinary topcoat looks great. Get it wrong and the best paint on the shelf still looks rough.
The interior wall prep steps that matter
Good wall prep is a sequence, and the order matters — wash before you fill, fill before you sand, caulk before you prime. Here's the process we run on every interior repaint, step by step.
Clear and protect the room
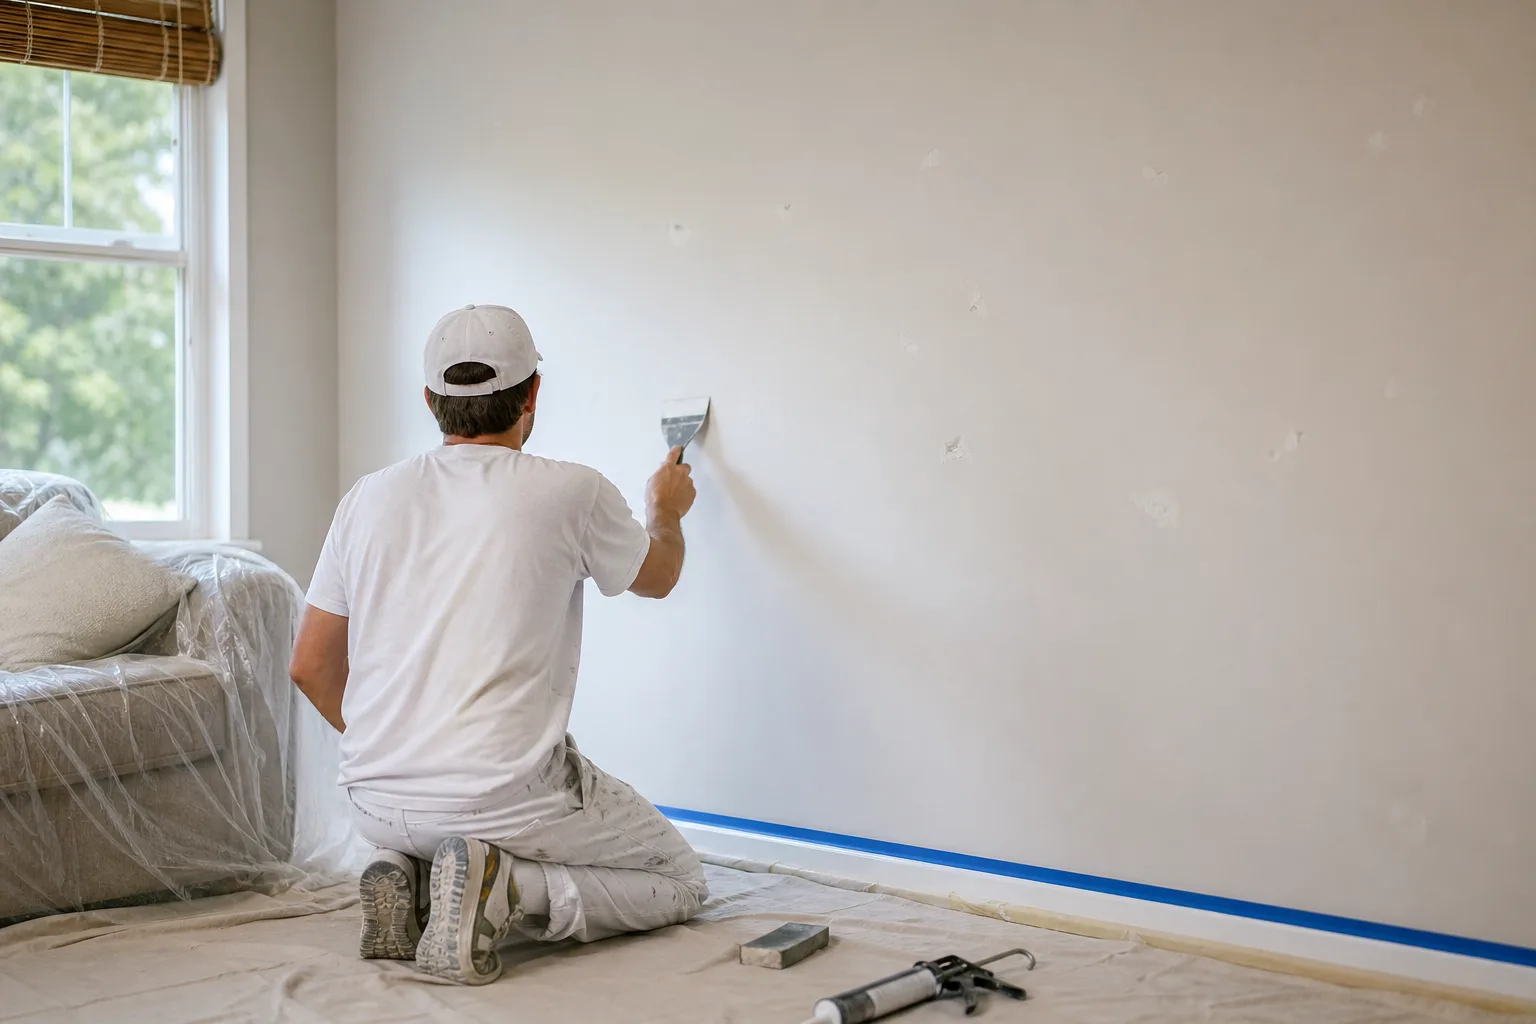
Move furniture to the center, cover it and the floor, and pull switch and outlet covers so you can prep fast without working around obstacles.Dust and wash the walls
Dust top to bottom, then wash with a mild cleaner — kitchens, baths, hallways, and anywhere hands touch. Let the walls dry fully so paint bonds instead of sitting on grease.Fill holes, dents, and cracks
Fill nail holes, dings, and hairline cracks with spackle or lightweight compound. Slightly overfill, let it dry, and add a second pass on deeper spots so they don't sink.Sand the repairs and slick spots flush
Sand patches smooth and flush, scuff glossy or slick areas so new paint grips, and feather the edges. Wipe off all sanding dust with a damp cloth or tack rag.Re-caulk gaps along trim
Run a fresh bead of paintable caulk where baseboards, casings, and crown meet the wall. Tool it smooth and let it cure — crisp caulk lines make the room look finished.Spot-prime patches and stains
Prime every patch, repair, and stain. Porous filler and bleed-through stains flash or ghost through the finish if you skip this — spot-priming makes them disappear.
Cleaning: the step everyone underestimates
Walls collect more than dust. Cooking grease drifts onto kitchen walls, skin oil builds up around switches and door edges, and hallways near the Gulf pick up a fine film you don't notice until you wipe a rag near a switch plate. Paint will not bond to any of that. A light wash with a mild cleaner — and a real rinse — gives the new coat a clean surface to grip. It's the least glamorous step and the one that quietly saves the most jobs.
Patching and sanding: making the wall flat again
This is where the wall actually gets smooth. Fill the nail holes, the door-handle dents, the hairline cracks that open up as a house settles in our humidity. Slightly overfill so the patch can be sanded flush, and hit deeper spots twice — fresh compound shrinks as it dries. Then sand only what needs it: the patches, any glossy or slick areas that won't hold paint, and the feathered edges of old peeling spots. You're not sanding the whole wall down; you're erasing the specific flaws that would show. If your walls have bigger issues — failed seams, water damage, popped nails, larger holes — that's drywall work, and our drywall repair and painting crew handles the repair and the finish as one job so the fix disappears under the paint.
Caulking: the detail that reads as "professional"
Caulk is the step DIY repaints almost always skip, and it's the one your eye notices most. A clean bead of paintable caulk where the baseboards, door casings, and crown molding meet the wall turns a row of shadowy gaps into crisp, continuous lines. Gulf Coast humidity swings expand and contract trim through the year, opening hairline gaps that catch the light. Re-caulking before you paint is fast, cheap, and it's a big part of why a professional repaint looks tighter than a weekend one.
Spot-priming: the insurance coat
Primer isn't always a full wall coat, but it's almost always needed somewhere. Every patch you filled is raw, porous compound that will absorb paint differently from the wall around it and flash as a dull spot if you paint straight over it. Spot-prime those repairs. Stains — water rings, smoke, marker, grease — bleed back through ordinary paint and need a stain-blocking primer to seal them for good; we get into which product handles which stain in our guide to the best primer for stains, smoke, and water marks. And if you're unsure whether your walls need primer at all, our breakdown of when interior walls need primer before painting walks the five situations that call for it.
Where does DIY wall prep usually go wrong?
Most prep mistakes aren't about effort — they're about order and patience. People paint over a patch before it's fully dry, skip the wash on a kitchen wall that looked clean, sand a patch but never wipe off the dust, or rush past caulk because it isn't strictly "painting." Each one shows up in the finish. The fix is simple: respect the sequence, let each step dry before the next, and don't treat prep as the thing you hurry through to get to the fun part. The prep is the job. For a homeowner-friendly version of the whole routine, our interior paint prep checklist before painters arrive lays out what to handle and what to leave to the crew.
The bottom line on interior wall prep
Wall prep makes or breaks an interior paint job because paint reveals the wall instead of hiding it. Wash off the grease so the coat bonds, fill and sand so the surface is flat, caulk the trim so the lines are crisp, and spot-prime the patches and stains so nothing ghosts back through. Do that, and an ordinary topcoat looks sharp and stays that way. Skip it, and the most expensive paint on the shelf still looks tired by next season.
If you'd rather not spend a weekend filling and sanding — or your walls have more going on than a few nail holes — our interior painting crew handles the prep wall by wall as part of every job. Book a free in-home estimate and you'll get a written quote within 24 hours, with the prep spelled out before a roller touches the wall, all backed by our 3-year workmanship warranty.