
The wall feels cool and a little damp to the back of your hand, there's a soft chalky bloom creeping up from the baseboard, and the last coat someone rolled on is starting to bubble near the window. If your home sits anywhere near the water and has a few decades on it, that's plaster talking — and on the coast, plaster has more to say than it does inland. Painting plaster walls well here starts with the air around them, not the brush.
Older homes along the bay and the gulf were built with lath-and-plaster walls, and those walls are solid and worth keeping. But they behave differently in salt-tinged, humid coastal air than the same plaster would in a dry climate. Moisture is the through-line in almost every plaster paint job that fails near the water, so that's where this guide starts — then we move to the prep, the primer, and the finish that hold up down here.
Why is coastal humidity so hard on old plaster?
It comes down to how these walls are built and what the bay-side air does to them. Hidden behind that smooth surface is a row of slim wooden slats — lath — and the original plasterer pushed wet plaster through the gaps so it oozed out and hardened into "keys" that clamp the wall in place. Salt-tinged coastal air keeps that wood restless year-round, and two forces gnaw at those keys.
First is the moisture itself. Our salt air runs humid most of the year, and that constant swing in moisture keeps the wood lath swelling and shrinking, which opens hairline cracks along the same lines season after season. Second is the masonry path: many older coastal homes have plaster over masonry or block on the exterior walls, and those walls wick humidity from outside toward the inside. That moving moisture is what pulls a chalky bloom to the surface, softens old plaster, and bubbles paint that was applied over a damp or sealed-tight wall.
None of this means the wall is bad. It means the prep has to deal with water first and cosmetics second — the opposite order from a brand-new drywall room.
Find and fix the moisture before you patch
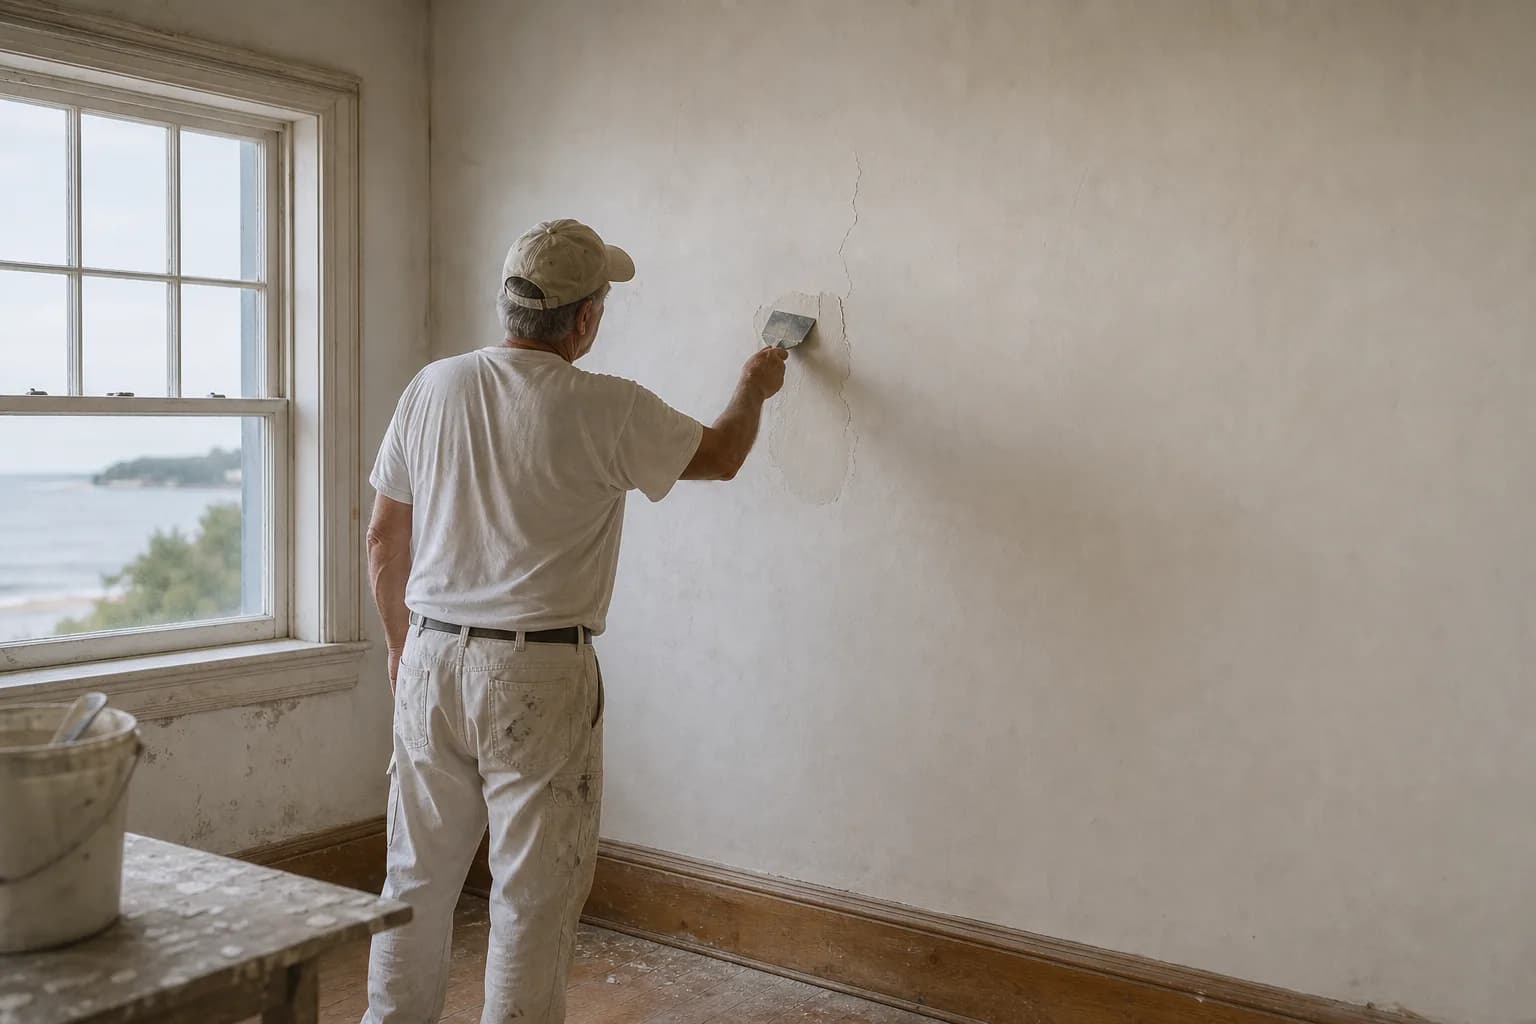
Answer first: in a coastal home, you diagnose the water before you touch a crack, because a patched, painted wall that's still getting wet behind the plaster will fail no matter how careful the cosmetic work was.
Walk the walls and read the tells. A chalky or salty film, soft or spongy plaster, bubbling paint, and brown halos near exterior walls, bathrooms, and windows all point to active moisture. Trace it to a source — a tired window seal, a roof or flashing leak, condensation in a room that doesn't breathe, or humidity wicking through an exterior masonry wall. Some of those are quick fixes; some need a roofer or a window before any painter should start. This is the step DIY repaints skip most often near the water, and it's the one that decides whether the job lasts.
Once the wall is dry and staying dry, the plaster repair follows.
How we paint plaster walls so the finish lasts
We stabilize and patch the cracks, skim the surface flat, seal it with a breathable primer, and topcoat in a flatter, moisture-tolerant sheen. Skipping any step is how a fresh coat ends up cracked or bubbled again by the next humid stretch. It's the same prep-first approach we bring to every interior painting project — on an aged coastal wall, the moisture step just moves to the front of the line.
Find the moisture before the cracks
Read the coastal tells first — chalky bloom, soft spots, brown halos near exterior walls and baths — and trace any active leak or condensation to its source before any paint goes on.Stabilize and patch the cracks
Re-anchor loose plaster to the lath, tape stable hairline cracks, and use a flexible patch on cracks that still move with the season, then feather every repair into the wall.Skim and sand to an even surface
Skim-coat patched areas and rough fields, then sand flat so decades of waves and trowel marks are knocked down before painting.Seal with a breathable primer
Prime bare and repaired plaster to lock down chalk and even the surface while still letting the wall breathe, so moisture can escape instead of pushing the finish off.Topcoat in a moisture-tolerant finish
Roll a quality acrylic in matte or eggshell, two coats where needed, built to handle humidity and the occasional wipe-down without spotlighting the home's age.
The breathable-primer call is the coastal-specific one. Inland, you can often seal a chalky plaster wall tight and move on. On a coastal masonry wall that's still passing a little humidity from outside, a fully sealed, non-breathable film can bottle that moisture up and blister. A breathable acrylic primer locks down the chalk and evens the suction while still letting the wall exhale — that balance is what keeps the topcoat on.
Choosing a finish that flatters age and shrugs off humidity
On plaster, sheen is your friend or your enemy. A matte or flat finish scatters light and hides the gentle waves, old patches, and trowel texture that come with a wall this age, while a satin or semi-gloss reflects light and spotlights every ripple. In a coastal home you also want a coat that tolerates humidity and the occasional wipe-down, so eggshell earns its place in busier rooms and hallways. The shine belongs on trim and doors, not the wall field.
| Finish | On coastal plaster | Best use |
|---|---|---|
| Matte / flat | Hides waves and patches best | Living rooms, bedrooms, quiet walls |
| Eggshell | Hides well, wipes a little easier | Humid rooms, hallways, higher-traffic walls |
| Satin | Starts to reveal texture | Generally not the wall field |
| Semi-gloss | Spotlights every ripple | Trim and doors, not walls |
Color matters too. Mid-tone and warmer colors are kinder to an uneven surface than a stark cool white under bright coastal daylight off the water. If you want to see options on your own walls before you commit, try our free AI Color Visualizer — upload a photo of the room and preview real colors in your home's light — or lean on our color consultation for the in-person version.
When plaster repair becomes drywall work
Sometimes a wall is too far gone in spots — large failed sections, old water damage from years of coastal moisture, or a patchwork of bad past repairs. In those cases the right move is a clean patch that blends into the surrounding plaster, and our drywall repair and painting crew handles that so the fix disappears instead of standing out as a flat rectangle on a textured wall. There's a safety layer in older homes too: pre-1978 plaster often carries lead paint, and sanding or scraping it without containment spreads dust where you don't want it — our guide to lead-safe interior painting for pre-1978 homes covers the safe-prep process.
This guide stays general to coastal homes on purpose. If your house is specifically in town, the quirks of those neighborhoods get their own treatment in painting plaster walls in older Mobile homes, which digs into the city's historic-district plaster.
Plaster is worth keeping by the water
Original plaster gives an older coastal home a depth and solidity new drywall can't fake. The walls just ask for a painter who respects how they work in salt air. Painting plaster walls well here is mostly patient, moisture-first prep: fix the water, stabilize the cracks, skim it flat, seal it so it can breathe, and finish it in a sheen that flatters the home's age. Do that, and the bloom and the bubbling stay gone instead of coming back with the next humid month.
When you'd rather have it diagnosed and done right the first time, reach out for a free in-home estimate and a written quote within 24 hours. We're family-owned and have painted coastal homes since 2013, one accountable crew from your free estimate through the final inspection, backed by a 3-year workmanship warranty.