
Open any kitchen cabinet and run your hand along the inside edge of a door. That worn, slightly greasy surface is exactly what a paint job has to overcome — and it's why a cabinet finish either lasts for years or starts chipping at the corners by next summer. The difference isn't the paint in the can. It's the cabinet painting process: the order of operations, and how carefully each step gets done.
Below is the full professional cabinet painting process, step by step, the same way we run it on a real kitchen. Understanding it helps you tell a thorough job from a rushed one — and tells you exactly what you're paying for when you hire it out.
Why the cabinet painting process is mostly prep
Here's the answer most homeowners are surprised by: in a professional cabinet job, the actual color goes on near the end, and it's a small fraction of the work. The bulk of a finish that lasts is prep — cleaning, sanding, repairing, priming. Spraying the finish is the easy part once the surface underneath is right.
That's the whole reason a $4,000 cabinet quote and a much cheaper one aren't the same job. The cheap one almost always skips prep steps, and cabinets punish that fast, because they take daily abuse: hands, grease, steam, cleaning sprays, slamming doors. Skip the degreasing and the paint won't bond to the oils. Skip the sanding and it peels off the slick old finish. The steps below are in order for a reason — each one sets up the next.
The cabinet painting process, step by step
This is the sequence we follow on a typical kitchen. The first six steps are prep and finish; the last two are the cure and the reinstall.
Degrease every surface
We clean and degrease every door, drawer front, and box, because kitchen cabinets carry years of cooking grease and oils that will reject paint if they aren't removed first.Remove and label the doors and drawer fronts
We take off every door and drawer front and label each piece and its hardware so it goes back in exactly the same spot, then spray them flat for an even, factory-grade finish.Sand and scuff for adhesion
We sand or scuff-sand every surface to dull the old finish so primer and paint can grip — the prep step that decides whether the finish lasts years or chips early.Fill, repair, and mask
We fill chips, dents, and grain where a smooth finish is wanted, repair worn edges, then mask and protect your kitchen — counters, walls, floors — before any finish is sprayed.Prime with the right bonding primer
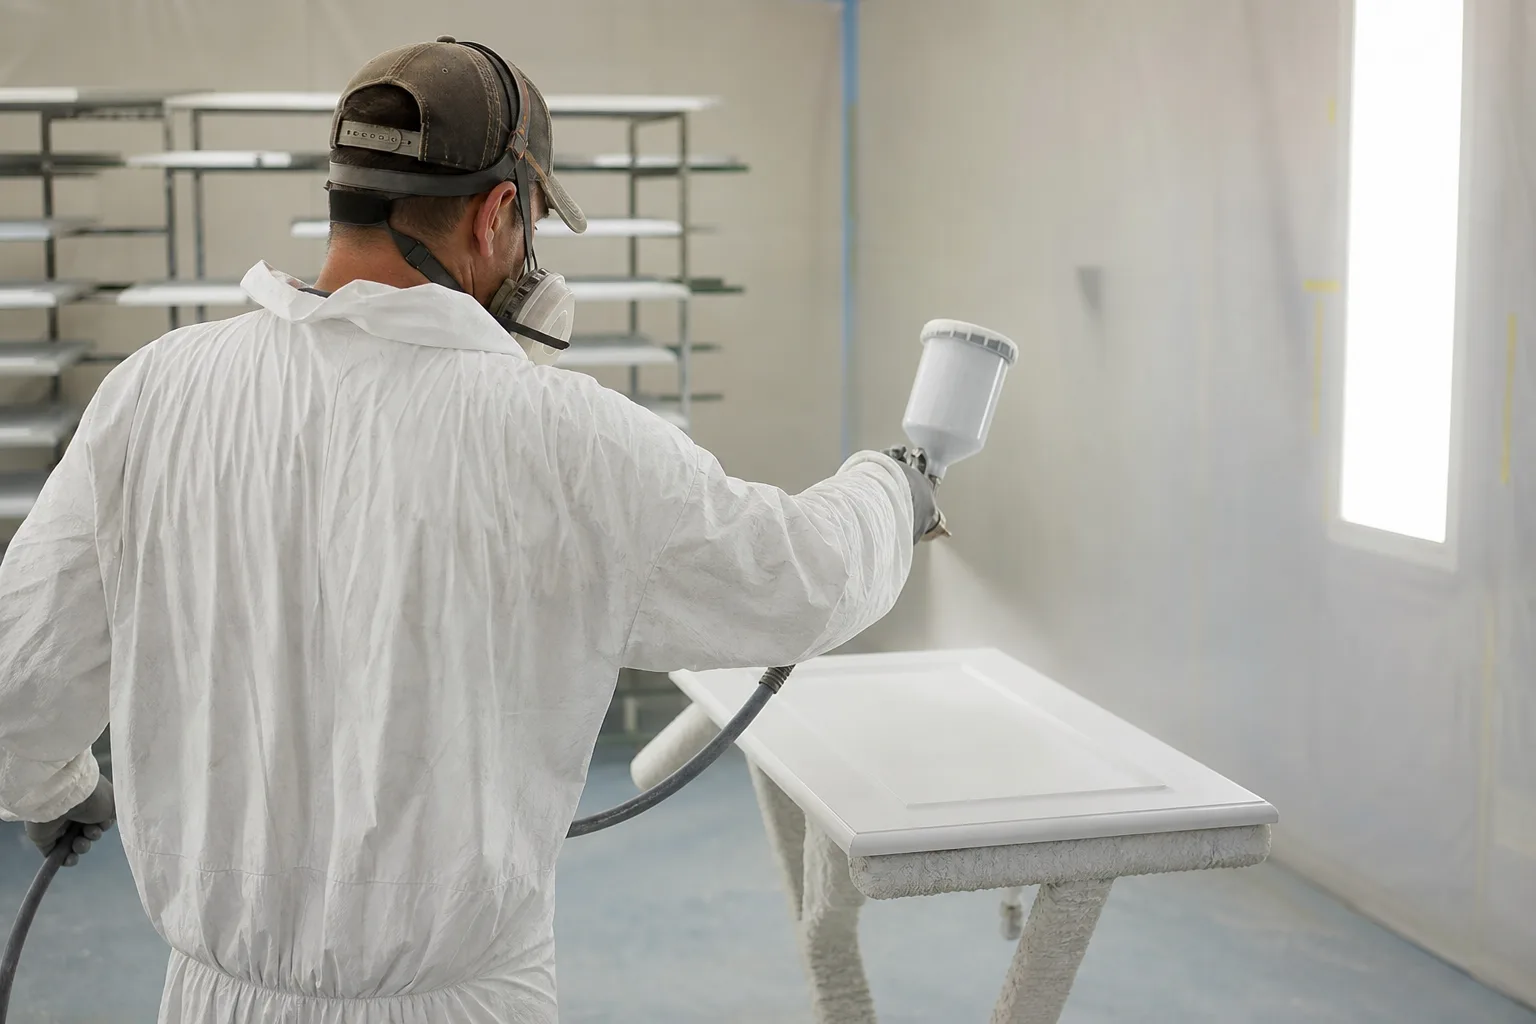
We prime every surface with a primer matched to your cabinet material, using a bonding primer on slick laminate or thermofoil, so the finish coats adhere and the old color is sealed off.Spray multiple finish coats
We spray several thin, even coats of cabinet-grade finish rather than brushing, which eliminates brush marks and roller stipple and lays down a smooth, durable surface.Cure the doors at our facility
We cure the doors and drawer fronts in our climate-controlled drying and preparation booths at our own shop — a dust-free, humidity-controlled space that lets the finish harden factory-smooth — while the boxes get painted on the wall in your kitchen.Reinstall doors and hardware
Once everything is fully cured, we rehang every labeled door and drawer front, reinstall the hardware, adjust the alignment, and do a final inspection before we call the job done.
Where does most of the labor actually go?
A few of those steps carry the weight of the whole job, and they're worth understanding on their own.
Degreasing comes first for a reason. Cooking puts a thin film of oil on every cabinet surface near the stove and well beyond it. Paint will not stick to grease — it'll look fine for a few weeks, then peel. So before anything else, every surface gets cleaned and degreased. On a heavily used kitchen this alone can take real time, and it's the single most-skipped step on a cheap job.
Labeling is what protects your kitchen. Every door and drawer front comes off and gets a label, and so does its hardware, so each piece goes back in exactly the spot it came from. Hinges, pulls, and knobs are removed too. If you're swapping old knobs for new pulls, that's where holes get filled and re-drilled. Pull forty doors without a labeling system and reassembly becomes a guessing game — a careful crew never works that way.
Spraying beats brushing on cabinets, every time. Brushing leaves marks and a roller leaves stipple, and on a smooth cabinet door you'll see both in raking light. Taking the doors off and spraying them flat — from every angle, including the edges and backs — is the only way to get the even, factory-grade finish people picture when they imagine new cabinets.
The step that makes it last: the facility cure
Spraying a beautiful coat is only half the finish. The other half is the cure — how the paint hardens after it's sprayed. This is where a working kitchen fights you, because dust and humidity both ruin a curing finish. Dust settles into wet paint and leaves a gritty surface. High humidity slows the cure and can leave the finish soft.
That's why the doors and drawer fronts leave the kitchen. We remove them and finish them at our own facility, where they're sprayed and cured in climate-controlled drying and preparation booths — a dust-free, humidity-controlled space — so the finish hardens smooth and even instead of catching dust or staying soft in the coastal humidity. It's the least-invasive way to do it: the boxes stay bolted to the wall and get painted right in your kitchen, your home stays livable, and your doors never sit out in the Gulf Coast sun to dry. If you want the deeper version of why the controlled cure matters, our explainer on how our cabinet drying booths protect the finish walks through it.
The cure is also what sets the pace of the job. You can't rush the time between coats without the finish failing later, which is the real reason cabinet painting takes the days it takes. We break down what that means for your kitchen in how long cabinet painting takes and your kitchen's down time.
What the finished process gets you
Run end to end, this process is what separates a job that looks like new cabinetry from one that looks painted. The doors and drawer fronts come back smooth, even, and fully cured, hung straight, hardware reinstalled, alignment adjusted — and a manager does a final inspection before final payment. Done right, the result holds up to years of daily kitchen use, which is exactly what the prep-heavy process is buying you.
The process is also why cabinet painting is a fraction of the cost of replacing or refacing while still transforming a kitchen. If you want the full picture of the service, the kitchen cabinet painting guide for Mobile and Baldwin County covers materials, colors, and timelines, and if you're choosing a color, our free AI Color Visualizer lets you see real paint colors on a photo of your own kitchen before you commit.
The bottom line on the cabinet painting process
The cabinet painting process is degrease, remove and label, sand, fill and mask, prime, spray, cure the doors at our facility, and reinstall — in that order, with prep carrying most of the work and the controlled cure carrying most of the durability. When you understand the steps, you can read any cabinet quote for what it really includes.
Pro 1 Painters has run this exact process on kitchens across Mobile and Baldwin County since 2013, backed by a 3-year workmanship warranty and a manager sign-off before final payment. Book a free in-home estimate and we'll look at your cabinets, count the doors, and put a written quote in your hands within 24 hours.