
The leak's been fixed, the ceiling has dried out, and you're left staring at the souvenir it left behind — a brown ring that no amount of regular ceiling paint will hide. Roll your normal white right over it and you'll watch the stain ghost back through within a few days, looking almost as bad as before. The step everyone misses isn't the painting; it's sealing the water stain first with the right primer so it can never bleed up again.
This post picks up where the leak repair leaves off: your ceiling is dry and the drywall is still sound, and now you want to make that stain vanish for good. We'll cover why ordinary paint fails, how to pick between a shellac and an oil-based stain blocker, and the priming-and-repainting sequence that leaves no trace.
First, make sure you're actually ready to seal
Answer-first: only seal and paint a water-stained ceiling after the leak is genuinely fixed, the drywall has dried completely, and the stained spot is still firm — sealing over active moisture or failed drywall just buries the problem.
This post assumes you've already handled the water itself, because everything below depends on it. If you haven't traced the stain to its source yet — roof, AC condensation, or plumbing — start with what causes ceiling water stains on the Gulf Coast and how to find the source. And before you commit to sealing, press the stained area: it should be dry and firm. If it's soft, spongy, sagging, or showing mold, no primer will save it, and you're in cut-it-out territory instead — how to fix a water-damaged ceiling and when to cut it out covers that exact call.
Why does a water stain bleed back through regular paint?
Answer-first: a water stain is dissolved minerals and drywall tannins, and water-based paint reactivates them and carries them right back up through the new coat — which is why you need an oil- or shellac-based stain blocker, not more ceiling paint.
That brown ring isn't sitting on the surface like dirt you can wash off. As the leak dried, it deposited tannins and minerals into the drywall paper. When you brush water-based paint over it, the moisture in the paint re-dissolves those compounds and wicks them up into your fresh film as it dries. The result is a stain that reappears — sometimes within a day. The only thing that stops the migration is a primer with a solvent base that the tannins can't travel through. That's the whole job of a stain-blocking primer: it's a sealed barrier between the stain and your finish coat. (The same logic applies to walls — see our rundown of the best primer for stains, smoke, and water marks.)
Shellac vs. oil-based stain blocker: which to use
Answer-first: both shellac- and oil-based stain blockers seal a water ring; shellac dries fastest and bites hardest on tough stains, while oil-based rolls easily over larger areas with less odor.
For most ceiling stains, either will do the job — the choice comes down to how bad the stain is and how much area you're sealing.
| Primer type | Best for | Dry time | Notes |
|---|---|---|---|
| Shellac-based (BIN-type) | Stubborn, dark, or recurring-looking stains; spot-priming | Fast — often under an hour | Strongest blocker; denatured-alcohol cleanup; ventilate well |
| Oil-based | Larger or multiple stains; rolling a whole area | A few hours, longer in humidity | Easy to apply; less odor than shellac; mineral-spirits cleanup |
| Water-based 'stain-blocking' | Light, fully dried surface stains only | Fast | Convenient, but the least reliable on a real water ring |
For a single ugly brown ring, a shellac-based blocker is our default — it locks down the toughest stains and you can repaint over it the same afternoon. If you've got several stains or a broad discolored area to cover, an oil-based primer is friendlier to roll and easier on the nose. Whichever you choose, ventilate the room well and keep a fan moving while it dries.
How to seal and repaint the ceiling so the stain disappears
Answer-first: spot-prime the stain with an oil- or shellac-based blocker, add a second prime coat if it still ghosts through, then repaint the entire ceiling corner to corner so the repair blends under every light.
With the right primer in hand, the work itself is straightforward. The two things that decide whether the fix truly disappears are fully blocking the stain and painting the whole ceiling, not just the spot.
Confirm it's dry and sound
Make sure the leak is fixed, the drywall has dried fully, and the stained area is firm — not soft or moldy. Everything after this assumes a dry, sound ceiling.Mask and protect the room
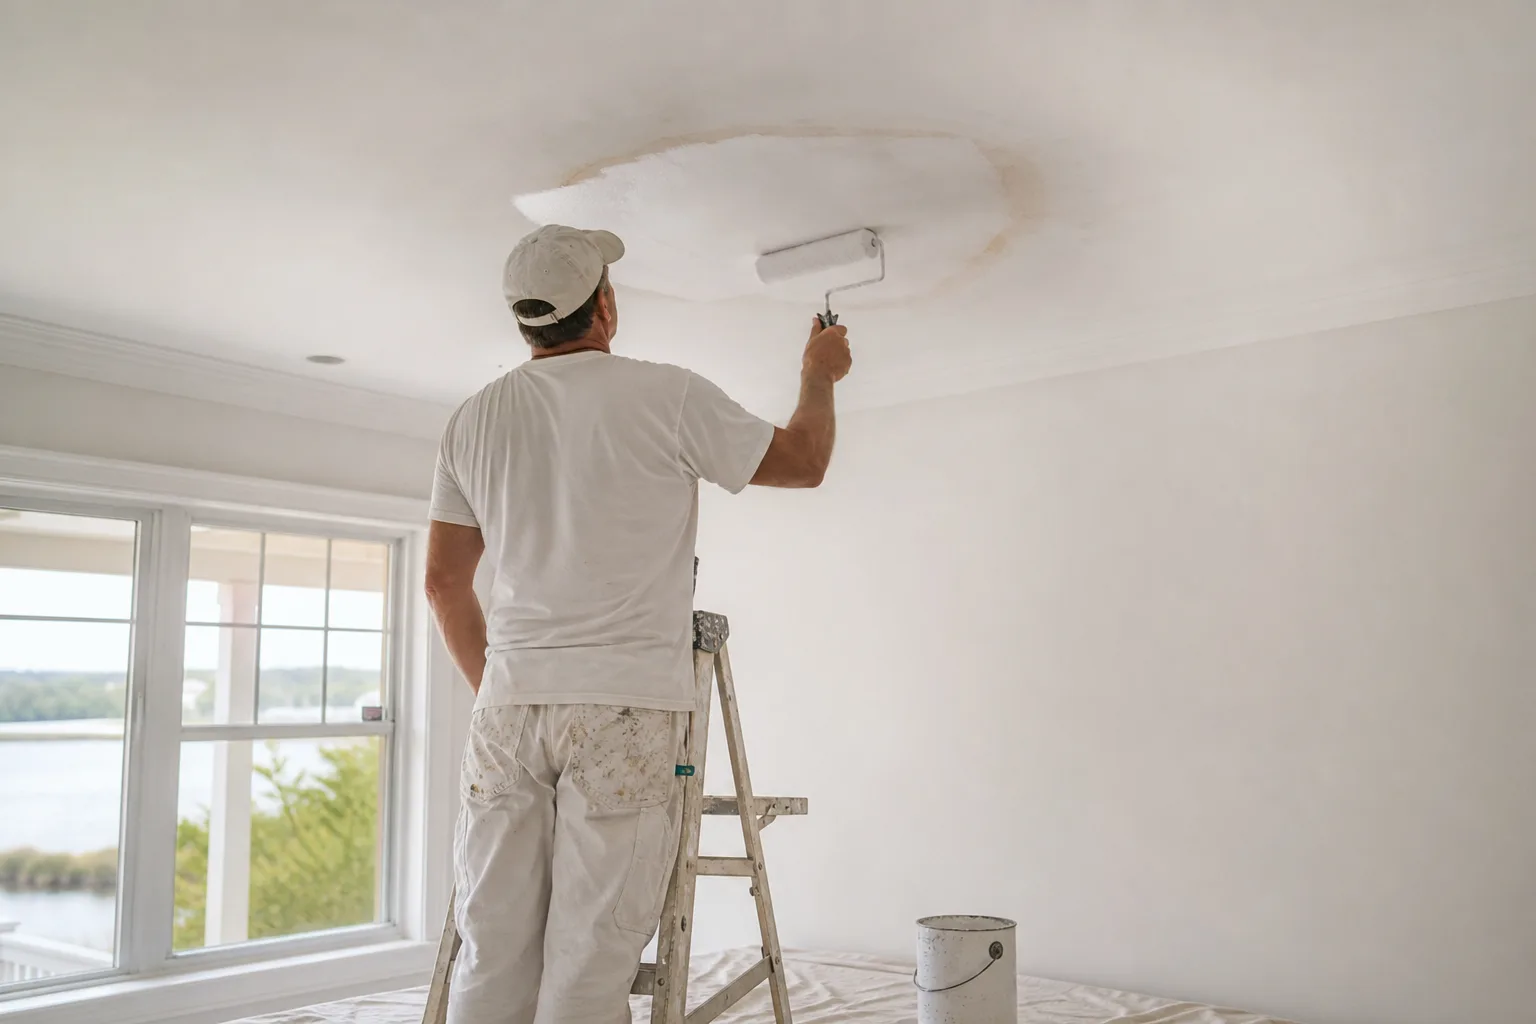
Drop-cloth the floor and furniture and tape off the wall-to-ceiling line. Oil and shellac primers are worth keeping off anything you're not sealing, and cleanup is tougher than latex.Spot-prime the stain
Brush or roll the stain-blocking primer over the ring, feathering just past its edges. Let it dry per the can, then check it in raking light to see if the stain still ghosts through.Add a second prime coat if needed
A dark or stubborn stain often needs a second pass. Re-prime any spot where the ring still shows and let it dry fully. The goal is a stain you can't see through the primer.Repaint the whole ceiling
Match any texture on a repair first, then repaint the entire ceiling corner to corner — not just the primed spot — so the fix blends invisibly under every light.
Two details make or break it. First, prime until the stain is genuinely gone — if you can still see a faint ring through the dried primer, it will show through your paint, so hit it with a second coat of blocker. Second, repaint the entire ceiling, not just the primed patch. Ceilings reveal every difference in sheen and shade under raking light, so a spot of fresh paint over older ceiling paint almost always flashes. If your ceiling is textured, the primed area has to be re-textured to match knockdown, orange peel, or popcorn before you paint, or the smooth patch gives itself away — our guide to matching drywall texture walks through getting that blend right.
Get your ceiling stain sealed right
A water-stained ceiling comes down to a simple sequence once the leak is dead: confirm the drywall is dry and sound, seal the stain with an oil- or shellac-based blocker until the ring is truly gone, match any texture, and repaint the whole ceiling corner to corner. Skip the stain blocker and the ring returns; skip the full repaint and the patch flashes. Do both and you'd never know it was there.
Family-owned since 2013, we handle ceilings start to finish — stain-blocking, any drywall repair and texture matching, and a clean, even repaint — with one accountable crew from the free estimate through the final inspection, a manager sign-off before final payment, and a 3-year workmanship warranty behind our 4.8-star reputation. If there's a brown ring on your ceiling you're ready to put behind you, book a free in-home estimate for interior painting and we'll send a written quote within 24 hours. Pay by Cash, Check, or Credit Card.