
The repair itself was easy — a doorknob had punched a hole in the hallway, we cut it out, backed it, taped it, mudded it flush. Then came the part that actually decides whether anyone ever notices: matching the texture. The wall was knockdown, that mottled, half-flattened pattern that's all over Gulf Coast homes, and a smooth patch in the middle of it sticks out like a thumbprint.
Matching drywall texture is the difference between a repair that vanishes and one you see every time you walk by. Whether your walls are smooth, orange peel, or knockdown, the goal is the same — make the patch look like it was always there. Here's how to match drywall texture so the repair disappears under paint, and why the last step trips up the most people.
Which drywall texture do you have?
You can't match a texture you haven't named. Before any tool comes out, figure out which of the three you've got, because each one needs a different approach. Look at the wall under raking light — a flashlight held close and angled across the surface — to read the grain.
- Smooth. No texture at all, just flat painted drywall. Common on newer custom builds and many ceilings.
- Orange peel. A fine, even spray of bumps that looks like the skin of an orange. The most common wall texture in our area.
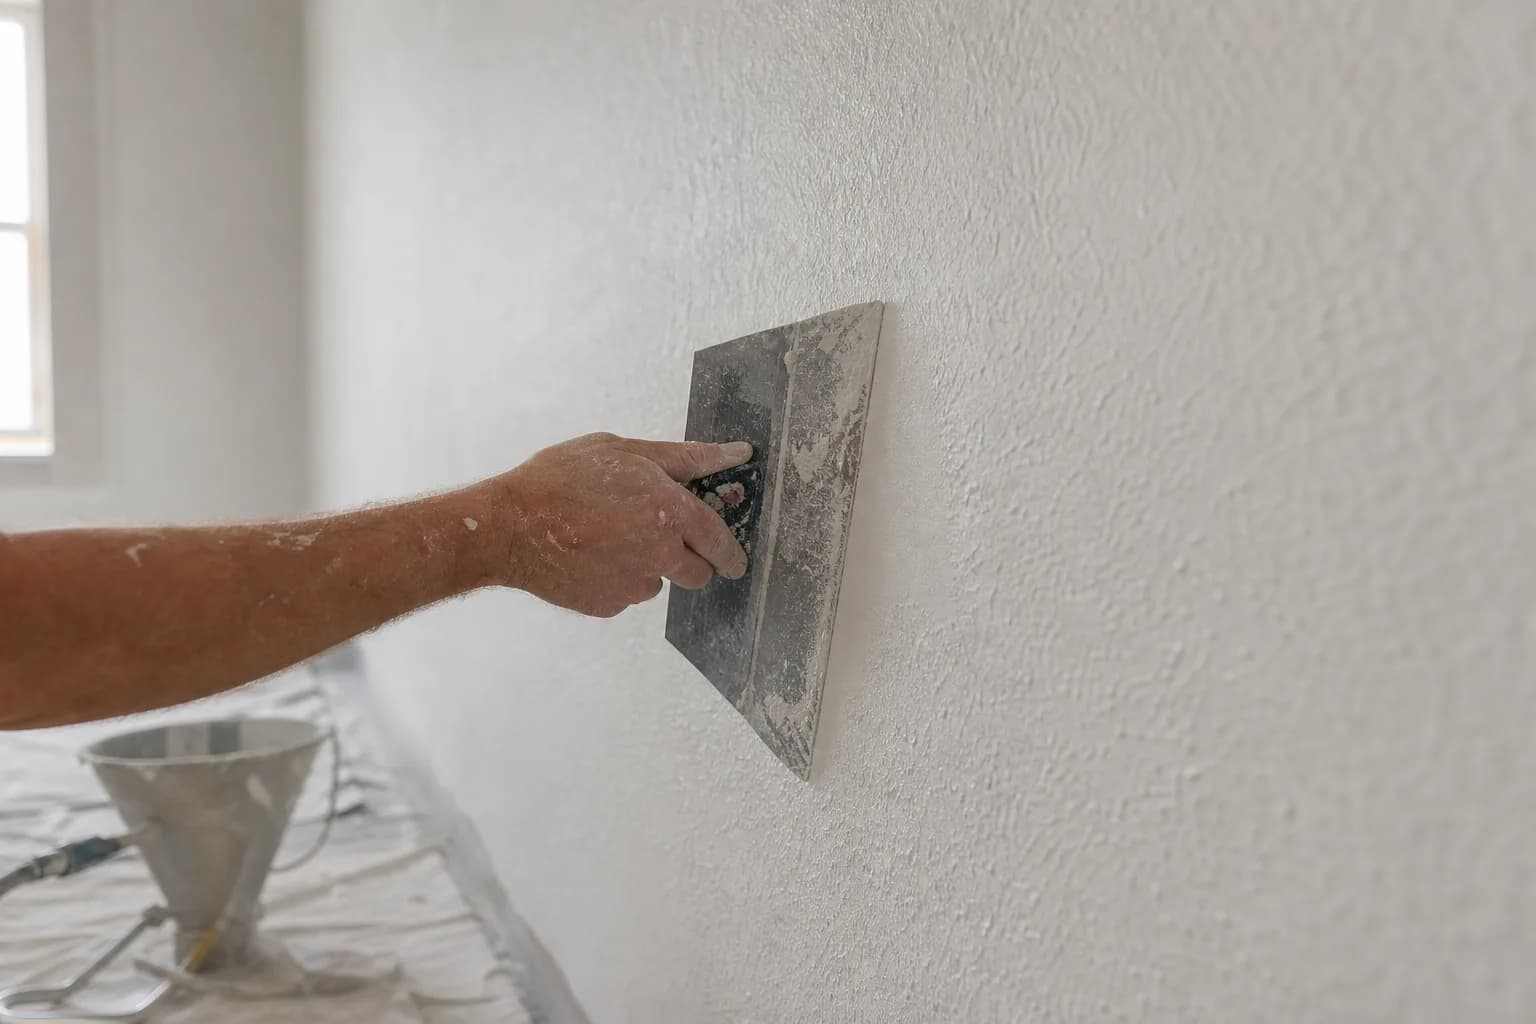
- Knockdown. Orange peel that's been lightly flattened with a wide blade while wet, leaving a mottled pattern of smooth patches and low ridges.
Once you know what you're matching, the repair underneath has to be right first. Tape, mud, and sand the patch dead flush, then prime it. Texturing over a lumpy or unprimed patch just gives you a textured lump. For the full repair sequence behind this, our drywall repair and texture matching guide walks through patching from the hole up.
How to match each drywall texture
Here's the working approach for each of the three. The through-line: test on scrap first, feather past the edges, and never skip primer.
Identify the texture
Use raking light to tell smooth from fine orange peel from mottled knockdown, because each needs a different tool and technique to match.Repair and prime flat
Tape, mud, and sand the patch flush with the wall, then prime the bare repair so the new texture and paint behave like the surrounding surface.Test on cardboard
Dial in the hopper grain size and air pressure on scrap until the spray matches the wall's grain before you point the gun at the repair.Apply the matching texture
Spray orange peel and leave it; for knockdown, spray then lightly flatten the peaks with a wide knife once tacky; for smooth, skim-coat and sand.Feather past the patch
Carry the texture a little beyond the repair edges and blend it into the existing pattern so there's no hard line where new meets old.Prime again and repaint
Prime the textured repair, then repaint the wall — often corner to corner — so the sheen is uniform and the patch disappears.
A few specifics by texture:
- Orange peel is the most forgiving. Set the hopper to a fine grain, spray a light even coat, and stop — no flattening. The trick is grain size and not laying it on too heavy.
- Knockdown is the timing one. Spray the orange peel base, wait until it's tacky but not dry, then drag a wide knockdown knife across it with light pressure to flatten the peaks. Too soon and you smear it; too late and the peaks won't flatten.
- Smooth is all about the mud and the sand. Skim-coat the patch, feather it wide, sand it flat, and check it under raking light again before primer — a smooth wall hides nothing.
Pick the right tool for the texture
Matching texture is partly a tool question. Here's what fits what.
| Texture | Tool to match it | The hard part |
|---|---|---|
| Orange peel | Hopper gun, fine setting | Matching grain size and not spraying it too heavy |
| Knockdown | Hopper gun + knockdown knife | Timing the flattening pass while the spray is tacky |
| Smooth | Taping knives + sanding | Skimming and sanding dead flat — every flaw shows |
| Small ding (any) | Aerosol texture can | Hard to control; grain rarely matches a big wall |
For bigger jobs — a large drywall hole or a wall that needs resurfacing, or skim-coat a wall to a smooth finish — the same principles scale up, but the prep gets more involved and the feathering more important.
The step everyone forgets: prime, then paint the wall
Here's where most DIY patches give themselves away. You can match the texture perfectly and the repair will still show if you skip two things.
First, prime the patch. Fresh mud and bare drywall are far thirstier than the painted wall around them. Paint straight over a patch and it soaks in differently — the spot "flashes" as a duller or shinier area even in the exact same color. A coat of primer evens out the porosity so the finish reads uniform.
Second, think about how far to repaint. On a textured wall you can often texture the repair, feather it, and repaint the whole wall corner to corner so the sheen matches. On a smooth wall, or where old paint has faded unevenly, painting the full wall — or wall to nearest corners — is what truly hides the seam. Matching sheen across an old, weathered surface is frequently the hard part, more than the texture itself.
The bottom line
To match drywall texture so a patch disappears: identify the texture first, get the repair flat and primed, test your spray on cardboard, match the grain and feather past the edges, then prime again and repaint the wall for uniform sheen. Skip the priming or stop the texture short and the patch announces itself — get those right and no one will ever find the repair.
If you'd rather it just look like nothing happened, book a free in-home estimate. We're a family-owned crew that's matched textures across Mobile and Baldwin County homes since 2013 — see the full drywall repair and painting service for what's included. One accountable crew runs your job from the free estimate through the final inspection, and every repair is backed by our 3-year workmanship warranty.