
A doorknob through the drywall. A failed anchor that pulled a fist-sized chunk out with it. A plumber who had to open the wall to reach a pipe. Big holes in drywall happen, and the patch you can buy at the store — a little aluminum mesh square — is built for dings, not for a hole you can put your hand through. Bridge a real hole with one of those and you'll see the outline every time the afternoon light rakes across the wall.
Large drywall hole repair done right isn't complicated, but it's a sequence, and skipping a step is what leaves a ghost you can never paint out. Below is exactly how a hole gets bridged so it disappears, and how to know when one wall has taken enough damage that you stop patching and resurface the whole thing instead.
How to fix a large drywall hole so it disappears
The honest answer to "how do I fix a big hole in drywall" is that you give the patch something solid to attach to, then you build the surface back up in layers and feather it wide. A floating patch with no backing flexes, cracks, and telegraphs through paint. A backed patch becomes part of the wall.
The size of the hole decides the method. A small ding is filler and a sand. A hole up to roughly a foot across gets a backed drywall patch. Bigger than that, or several holes in one wall, and you're better off cutting the drywall back to the studs and hanging a fresh piece — a clean replacement beats a giant patch every time.
Square up the hole
Cut the ragged hole into a clean rectangle with square corners so you have solid, straight edges to bridge instead of crumbling drywall.Add backing behind the hole
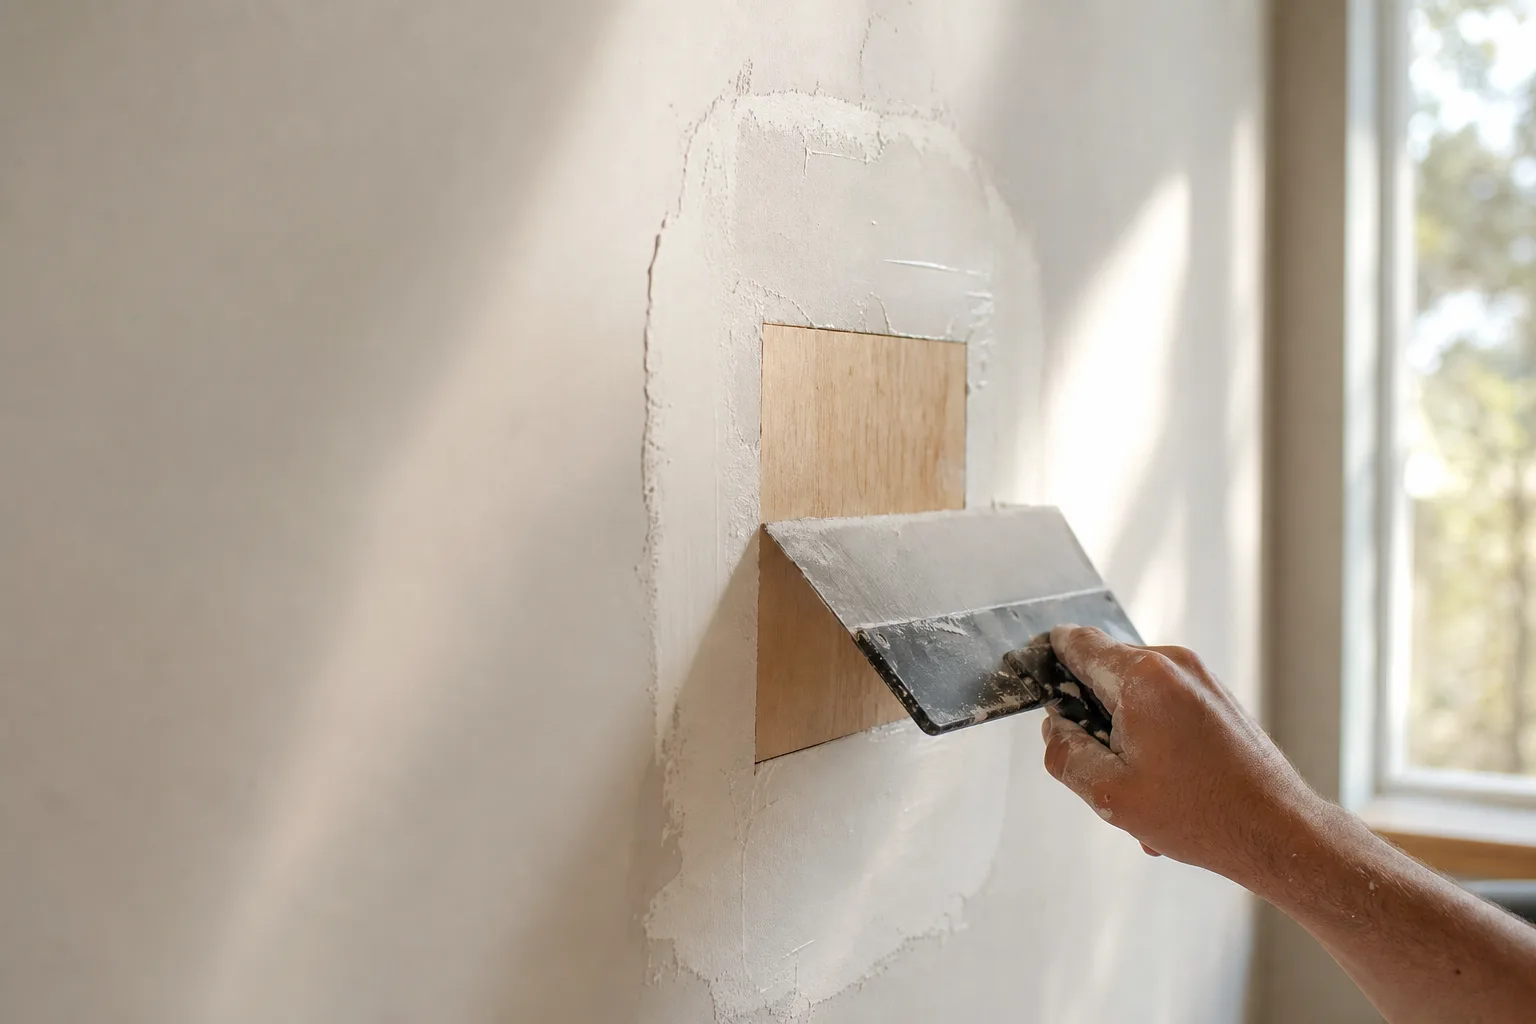
Slide a strip of wood or a drywall backer behind the opening and screw it to the surrounding board so the patch has something firm to land on.Cut and fasten the patch
Cut a piece of matching-thickness drywall to fit the rectangle, set it against the backing, and screw it in flush with the wall face.Tape and mud the seams
Bridge every seam with mesh or paper tape, then cover it with a first coat of joint compound pressed tight to the wall.Build and feather the coats
Apply two to three coats of compound, each one wider than the last, feathering the edges far out so there is no visible ridge.Sand, texture, and prime
Sand the dried compound smooth, re-create the surrounding wall texture, then prime the repair so it takes paint the same as the wall around it.
Why do drywall patches show through paint?
A repair fails the eye for two reasons, and neither is the color. The first is a narrow feather — a ridge of compound that your eye catches the second light hits it at an angle. The second is texture and sheen. Drywall mud is dead flat and dead smooth; the wall around it has a texture and a paint sheen. Roll one coat of wall color over a smooth patch on a textured wall and the patch sits there like a window.
This is the step most DIY repairs skip, and it's the difference between "you can tell someone fixed this" and "what hole?" If your walls are smooth, the patch has to be sanded glass-smooth and primed. If your walls carry a texture — orange peel and knockdown are everywhere in Gulf Coast homes — the repair has to wear that same texture before any paint goes on.
Matching that texture is its own small craft — there's a knack to dialing a hopper or an aerosol can to the right splatter and then knocking it down to match. We walk through the common patterns in our drywall texture matching guide, and the room-by-room specifics in how to match knockdown, orange peel, and smooth texture.
When to resurface the whole wall instead of patching
Sometimes the smart move isn't a better patch — it's to stop patching. Resurfacing means skim-coating the entire wall to one fresh, consistent surface instead of blending a repair into the old one. You reach for it when patching would mean fighting the wall in five places at once.
A few situations where resurfacing wins:
| Situation | Patch the spot | Resurface the wall |
|---|---|---|
| One clean hole, sound wall | Yes — backed patch and blend | Overkill |
| Several holes across one wall | Tedious and patchy | Yes — one even surface |
| Old heavy texture you want gone | Can't blend smooth into it | Yes — skim it flat |
| Failed prior repairs and ridges | Chasing your tail | Yes — reset the whole face |
| Peeling skim from past water | No | Yes — strip and re-skim |
Resurfacing is also the answer when you want to modernize. A lot of older homes here have heavy hand texture or a popcorn-era wall finish people are tired of. Skim-coating the wall to a smooth, current finish is a repair and a remodel in one pass. That's a bigger job than a patch — it's closer to our skim-coat smooth-finish process — but the result is a wall that looks new from corner to corner, not a wall with a good patch in it.
Cracks are a different problem
One thing worth flagging: a hole and a crack aren't the same repair. A hole is missing material you replace. A crack is movement — the house shifting, a seam that was never taped right — and if you just mud over it, it comes back. Recurring cracks need the joint re-bridged with tape so the movement can't telegraph through again. We cover that fix in drywall crack repair that won't come back, because nothing's more frustrating than painting over a crack twice.
Get it patched and painted in one trip
A big hole in the wall is a small job done in the right order: back it, build it in layers, feather it wide, match the texture, prime, paint. Do all of that and the repair vanishes. Skip any of it and you'll see it forever. Where it stops being a patch and starts being a resurface is a judgment call — and an easy one to make with a set of eyes on the actual wall.
If you'd rather not chase coats and sanding dust through the house, we handle drywall repair and painting as one job, so the wall goes from damaged to finished without a parade of trades. We'll come take a look, tell you straight whether it's a patch or a resurface, and email a written quote within 24 hours — free, and backed by our 3-year workmanship warranty. Family-owned and serving the Gulf Coast since 2013.