
You patched it last spring. Smoothed in some filler, dabbed on a little paint, stood back happy. And now that same thin line is creeping out of the doorway corner again, in the exact spot it was before. A recurring drywall crack isn't bad luck and it isn't bad filler — it's a crack that was treated like a hole when it's really a sign of movement. Fix the movement, not just the line, and it stays gone.
This is the most frustrating drywall repair there is, because the work looks done and then undoes itself. Below is why cracks come back, the difference between the harmless ones and the ones worth worrying about, and the technique that makes drywall crack repair actually hold — so you're not painting over the same seam every year.
Why your drywall crack keeps coming back
A crack and a hole are two different problems, and treating one like the other is why repairs fail. A hole is missing material — you put material back, which is its own method covered in how to repair large drywall holes. A crack is movement — the wall is flexing along a line, and unless something spans that line and holds it, whatever you smear on top will split again right down the middle.
Joint compound on its own is brittle. It's made to be sanded glass-smooth, not to stretch. So a crack filled with nothing but mud or caulk has zero ability to absorb the next season's movement, and it telegraphs straight back through your fresh paint the first time the house flexes. On the Gulf Coast that flex is real and constant — framing behind your walls swells through our humid summers and shrinks in the dry of winter, and every house keeps settling for years. The crack isn't failing. The repair is.
The kinds of cracks you'll see — and which ones are normal
Not every crack means the same thing. Reading the crack tells you whether it's a quick cosmetic fix or something to look at harder before you touch the drywall.
| What you see | Usual cause | How worried to be |
|---|---|---|
| Hairline crack from a door or window corner | Stress point — wall flexes most here | Cosmetic — re-tape and float |
| Straight crack along a ceiling or wall seam | A joint that wasn't taped well originally | Cosmetic — the seam needs re-bridging |
| Spiderweb of fine cracks in old paint | Aged, brittle paint or a thick texture coat | Cosmetic — surface only |
| Crack wider than a quarter inch | More movement than normal settling | Worth a closer look before repair |
| Stair-step crack, plus sticking doors or sloping floors | Possible foundation movement | Get it assessed before patching |
The honest rule: the overwhelming majority of cracks in a Gulf Coast home are normal settling and seam movement — cosmetic, annoying, and completely fixable. But a few are the wall trying to tell you something. If a crack is wide, stair-stepped, growing week over week, or showing up alongside doors that won't latch and floors that feel off, that's worth having looked at before you spend an afternoon on the drywall. Repairing the wall doesn't fix what's moving the house. We get deeper into telling the two apart in our guide on settling cracks versus structural cracks.
How to repair a drywall crack so it actually holds
Assuming you're dealing with a normal cosmetic crack, here's the sequence that makes it stay gone. The whole job hinges on one move most people skip: re-bridging the seam with tape.
Open the crack into a shallow V
Run a utility knife or the corner of a scraper down the crack to widen it slightly and clear out loose paint and crumbling old compound. Fresh mud needs clean, sound edges to grip — packing compound onto flaking paint just sets up the next failure.Re-bridge it with tape
Lay a first coat of joint compound over the crack and bed a strip of mesh or paper tape into it, pressed flat with no bubbles. This is the step that does the real work. The tape spans the moving seam so the crack can shift underneath without coming through the surface.Fill coat — go wider
Once the base is dry, spread a second, wider coat that covers the tape and starts feathering the edges out past the repair. You're building a gentle ramp from the wall up over the tape and back down, with no hard edge.Skim coat — feather it out
A final thin, wide coat fades the compound to nothing a hand's width or more past the crack on each side. Feather it far enough and there's no ridge for raking light to catch later.Sand, texture, and prime
Sand the dried compound flush with the wall under a raking work light, re-create the surrounding texture across the repair, then spot-prime the area so it takes color the same as the wall around it.
A few things make or break it. Use setting-type compound for the base on a crack that's given you trouble before — it's harder and more crack-resistant than premixed all-purpose mud. Let each coat dry fully before the next; our humidity stretches cure times, and a coat that's still damp underneath will crack or flash later. And don't skimp on the feather — the single most common reason a repaired crack still shows is mud that was kept too narrow, leaving a faint ridge you'll notice every evening when a lamp catches it.
Which drywall cracks fight back the most?
Two kinds of cracks come back more than any others, and both for the same reason — they sit where the wall moves most.
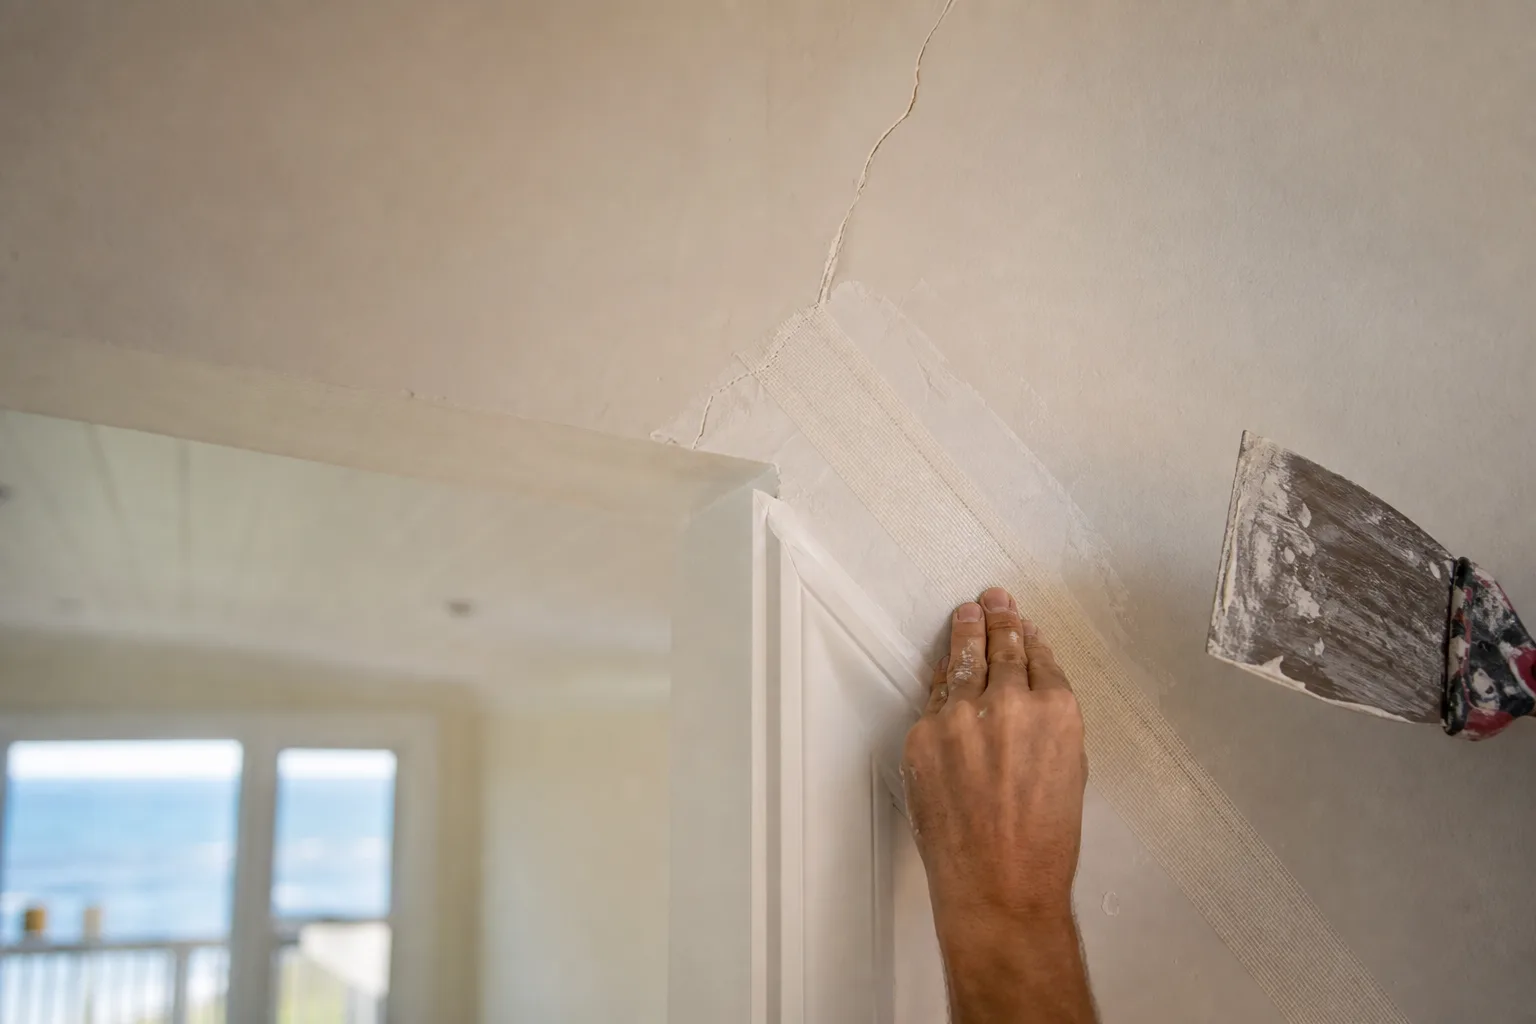
Stress cracks are the lines that fan out from the upper corners of door and window frames. That corner is the weakest point in the wall plane and the spot that flexes hardest as the house settles and the framing moves with the seasons, so the seam there opens first and reopens fastest. Filling it does nothing. The seam has to be re-taped — paper tape is the stronger pick here because it handles the angle better than mesh — and floated wide so the next bit of movement is absorbed under the tape instead of splitting your paint.
Inside corner cracks, where two walls meet or a wall meets the ceiling, crack along the seam for the same reason and want the same answer: paper tape folded into the corner, bedded in compound, then floated. Outside corners are a little different — those are protected by a metal or plastic corner bead, and a crack there often means the bead has come loose or taken a knock. That one's a refasten-and-refloat, not just a skim.
The thread running through all of it is the same: a crack that keeps returning is a seam that's still moving with nothing holding it. Bridge the seam properly and even a stubborn stress crack stops coming back. This is the same logic behind every lasting drywall fix — re-bridging movement, feathering wide, matching texture — which is why crack repair lives right alongside our full drywall repair and texture matching guide. Cracks that radiate from popped fasteners are a related cousin; if you're also seeing little domes lined up over a stud, that's covered in how to fix nail pops for good.
When to call a crew
A single hairline crack before you repaint is a fine weekend job — open it, tape it, float it, prime it, done. Where it's worth a call: cracks that have already come back once or twice despite your best patch, cracks on a textured wall or ceiling where the repair has to be blended invisibly, stress cracks at multiple openings, or any crack you suspect is more than cosmetic. A crew that does this daily can also tell you in five minutes whether you're looking at a settling crack to float or something that needs eyes on it first.
Pro 1 Painters has been a family-owned Gulf Coast painting crew since 2013, and re-bridging cracks the right way is part of nearly every interior repaint we do. One accountable crew runs your project from your free estimate through the final inspection, a manager signs off before final payment, and the work is backed by our 3-year workmanship warranty and a 4.8-star reputation. If there's a crack you've already painted over once, book a free in-home estimate for drywall repair and painting and we'll tell you straight why it keeps coming back — and email a written quote within 24 hours. Pay by Cash, Check, or Credit Card.