
Run your hand across a wall you're about to repaint and you'll feel the story it's been telling — a dent where a chair back hit it, a row of nail holes from the gallery wall, a hairline crack creeping out from the corner of a door. None of it looks like much under the current paint. Roll a fresh coat over it and every one of those flaws lights up, because new paint reflects light evenly and your eye catches anything that breaks the plane.
Learning how to fix wall imperfections before painting is the difference between a wall that looks repainted and one that looks brand new. The good news: the cosmetic stuff — dents, cracks, nail holes, old anchor holes — is straightforward to patch yourself with a putty knife, a tub of spackle, and a sanding sponge. This is light wall prep, not structural drywall work, and it's the step that makes the most visible difference in the final result. Here's exactly how we smooth a wall before paint goes on.
Find every wall imperfection before you fix it
Before you patch anything, you have to see everything. The fastest way to fix wall imperfections before painting is to catch them all in one pass instead of discovering a missed nail hole after the second coat.
Clean the wall first — a quick wipe to pull off dust, cobwebs, and any grease, especially in a kitchen or hallway. Then grab a work light or your phone flashlight and hold it flat against the wall so the beam rakes across the surface. Raking light throws a shadow off every dent, hole, and ridge, and flaws that were invisible head-on suddenly stand out. Walk the whole wall and put a light pencil tick next to each one so you don't lose track.
You're sorting flaws into two buckets as you go. Cosmetic ones — nail holes, picture-hook holes, shallow dents, scuffs, hairline cracks — are yours to patch below. The other bucket is the stuff that points to a real repair: recurring cracks, soft or crumbling drywall, bowing, or a water-stained patch. Those aren't filler jobs, and we'll come back to them at the end.
How to patch dents, nail holes, and old anchor holes
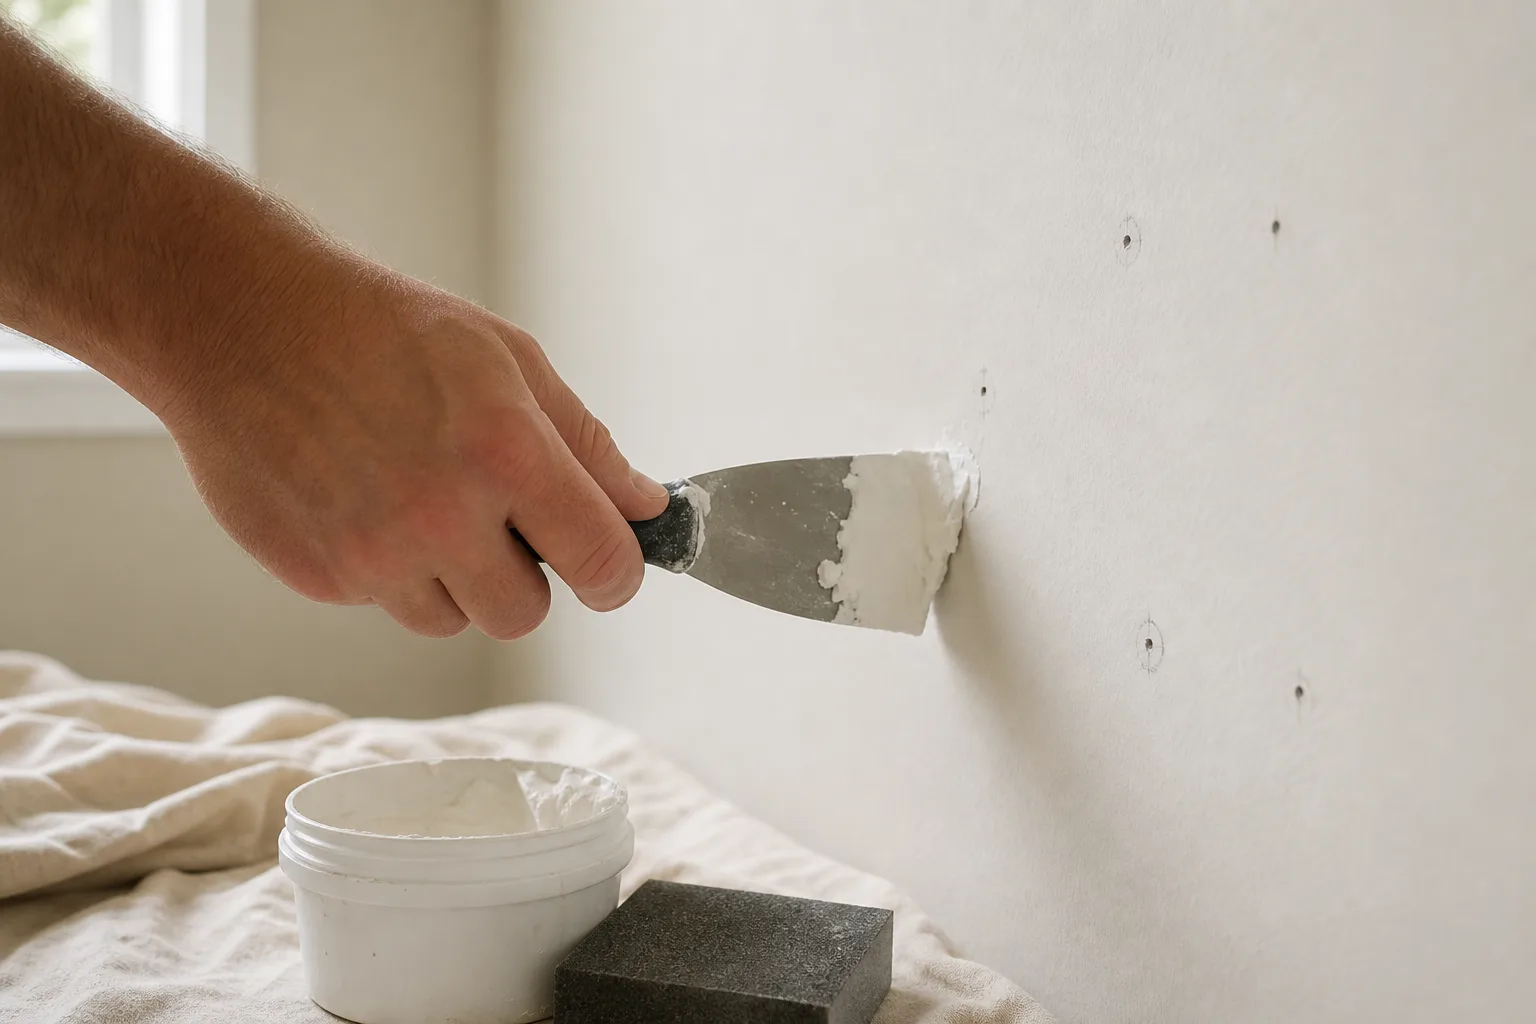
The workhorse for cosmetic wall prep is lightweight spackle. It dries fast, sands easily, and barely shrinks, so most small fixes are one-and-done. Keep a flexible putty knife in hand and work the marked spots in order.
Press filler into dents and nail holes
Load a little lightweight spackle on the putty knife and press it into each dent and nail hole, dragging the blade flat across the wall. Slightly overfill so the patch sits a hair proud — it'll sand back flush and won't leave a dimple.Handle old anchor holes in two passes
Pull the anchor out, then tap any flared paper or trim the raised edges flush with the wall. Fill the hole in two thin passes rather than one thick glob so the center doesn't sink as it dries. A larger hole gets a self-adhesive mesh patch under the filler.Spot-fill scuffs and gouges
Skim a thin coat of spackle over deeper scuffs and shallow gouges, feathering the edges out past the damage so there's no ridge to sand down later.
The most common DIY mistake here is one heavy pass on anything bigger than a nail hole. Thick filler shrinks and cracks as it cures, and you end up sanding a sunken, fissured patch. Thin coats, built up, dry flat and solid.
Fixing hairline cracks so they don't come back
Hairline cracks — the thin lines that wander out from door and window corners — are their own small skill. Skim spackle straight over a crack and it'll telegraph back through the paint within a season as the wall flexes.
The fix is to give the filler something to hold. Drag the corner of a scraper or a putty knife down the crack to widen it slightly into a shallow V, which sounds backwards but lets filler key into the gap instead of bridging over it. Press spackle in along the full length, feather the edges past the crack on both sides, and let it dry. For a crack that keeps reopening across repaints, a strip of self-adhesive mesh tape under the filler holds the seam still. If cracks are showing up in more than a spot or two, that's drywall territory, not cosmetic prep — see when wall damage needs real drywall repair rather than another round of filler.
Sand the wall smooth, then spot-prime before painting
This is the part that separates a flawless wall from a patchy one, and it's the step most people rush. Two things have to happen before paint: the patches have to be sanded flush, and they have to be primed.
Once every fill is fully dry, sand each patch with a fine-grit sanding sponge until you can't feel the edge of it — run your fingertips over the spot with your eyes closed and you should not be able to find where the patch ends and the wall begins. Feather the sanding out past the filler so there's no hard line. Then wipe or vacuum the dust off the wall and let the air settle; sanding dust left on the surface keeps paint and primer from sticking.
Hit every patch with a dab of primer, let it dry, and your wall is finally ready for color. From here, the prep that lasts is all about the order you work in — our complete interior painting guide for Mobile and Baldwin County homes walks through the full sequence, and if you're wondering why we obsess over this step, why wall prep makes or breaks an interior paint job lays out the case. For patches over old water rings or smoke, reach for the right sealer first — here's the best primer for stains, smoke, and water marks.
When is a wall imperfection a job for a pro instead of a patch?
Most walls just need the cosmetic pass above. But some "imperfections" are symptoms, not surface flaws, and filling them only hides the problem until it comes back through your fresh paint.
Call us instead of reaching for spackle when you see cracks that keep returning in the same spot, drywall that feels soft or crumbles at the edge of a hole, a bowed or bulging section, popped fastener heads in a row, or any patch tied to a past leak or water stain. Those need genuine drywall repair done right, and we handle the repair and the repaint as one job so you get a wall that's both sound and seamless — backed by our 3-year workmanship warranty. When the wall is more than a tub of spackle can solve, our drywall repair and painting service takes it from there, and you can get a free estimate on the whole project. Prep is 80% of a paint job that lasts — getting the wall right first is what makes the color worth rolling on.