
You’re ready to paint a room, but as you move furniture, you spot it—tiny nail holes, scuffed or dented corners, maybe even a crack running down the wall. It’s tempting to grab a roller and paint over it all. But can you just paint over a crack? Not if you want smooth, professional-looking results. Repairing the cracks in walls before painting makes all the difference, whether you’re handling the prep yourself or planning to work with professional interior painters .
Poor prep shows through paint, no matter how good the color is. Whether you’re covering up from a wall-mounted TV or years of wear and tear, repairing first avoids uneven surfaces and helps paint stick better.
This guide breaks down the most common wall damage types, explains the tools you’ll need, and walks you through each repair step. Whether you’re a DIYer or prepping for the pros, this will help you get it right.
Table of Contents
- Understanding Wall Damage Types
- Essential Tools and Materials
- Step-by-Step Repair Process
- The Critical Priming Step
- Common Mistakes to Avoid
- When to Call Professionals
- Finish Strong: Wall Repair Steps That Make Paint Last
Understanding Wall Damage Types
Nail Holes
Nail holes may look minor, but they need proper repair. Small ones, such as those from picture hangers, are simple to patch. Larger holes, like those from wall anchors, curtain rods, or mounted TVs, need more work. Leaving them untreated can lead to paint dips or poor adhesion.
RELATED: How to Touch Up Scuffs and Marks on Painted Walls
Dents and Dings
Everyday living can beat up your walls. Moving furniture, active kids, or even doorknobs can leave dents. These low spots stand out under fresh paint, especially in light or gloss finishes.
Cracks in Walls
Cracks come in different forms. Stress cracks often appear above doors or windows when a house settles. Seasonal changes cause walls to expand or shrink, leading to surface cracks. Moisture problems can also cause cracking—and may point to deeper issues.
Knowing how to repair cracks in walls before painting helps prevent them from coming back. It’s not just cosmetic—crack repair ensures the paint job lasts.
Essential Tools and Materials
Like any other DIY job, having the right tools for the job makes the process go more smoothly and results in a professional finish. What do professional painters use to fill cracks? Here’s a list of tools to help make sure the job is done right the first time:
- Rigid putty knife
- Flexible putty knife
- Fine grit sanding sponge
- Spackling or patching compound
- Fiberglass mesh tape
- Drop cloth
- Clean cloth/rags
- Paint brushes for touch ups
Professional Grade Materials
- Spackle vs. Joint Compound: Lightweight spackle for small holes; joint compound for large holes and cracks.
- Primer: Seals repaired areas and prevents dull spots.
- Sandpaper: Use 120-grit for rough sanding, 220-grit for finishing.
Step-by-Step Repair Process
Preparing the Surface
- Clean the damaged area thoroughly.
- Scrape off loose, bubbling, or flaking paint with a rigid putty knife.
- Smooth the area with a fine-grit sanding sponge.
- Wear safety glasses and a dust mask.
- Wipe surfaces clean with a damp cloth.
- Assess the extent of the damage.
Repairing Small Nail Holes
- Fill holes with lightweight spackle using a flexible putty knife.
- Remove excess spackle, smoothing and feathering edges.
- Let dry for 30 minutes to 1 hour or as directed on the can.
- Sand smooth with a fine-grit sanding sponge.
- Wipe clean of any dust with a clean cloth.
Fixing Larger Holes and Dents
- Cover holes with self-adhesive fiberglass mesh tape for medium holes (up to 2 inches).
- Apply patching compound in thin layers with a flexible putty knife.
- Remove excess compound.
- Let dry overnight.
- Sand smooth.
- Use a drop cloth to catch dust.
- Apply a second coat if needed and sand again.
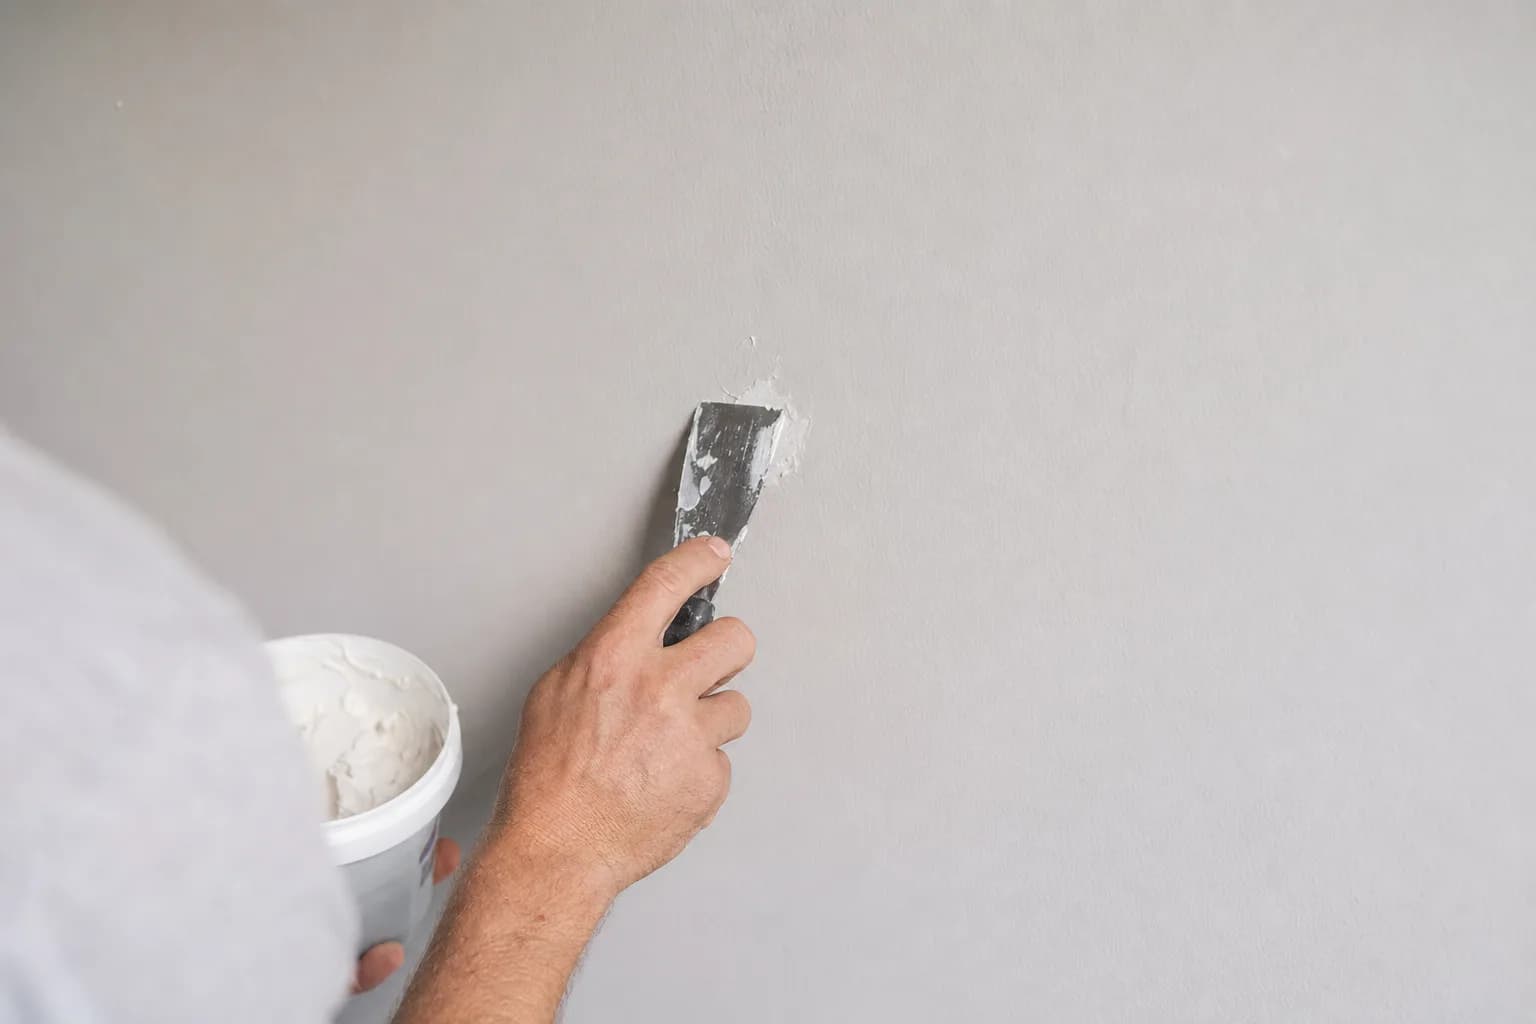
Repairing Wall Cracks
- Widen the crack with a utility knife or 5-in-1 tool.
- Brush away dust.
- Fill with spackle or use drywall tape for wider cracks.
- Apply thin coats of joint compound, feather edges.
- Let dry 15–30 minutes (or as recommended on the can).
- Sand smooth once fully dry.
- Wipe clean.
For cracks wider than 1/2 inch:
- Cover with self-adhesive drywall tape.
- Apply joint compound.
- Let dry, sand, repeat if needed.
- Paint after surface is smooth.
Popped Nail Heads
- Drive a drywall screw 1–2 inches above the popped nail head.
- Hammer the popped nail in gently.
- Cover both with spackle.
- Let dry, sand, then touch up paint.
Holes Larger Than 4 Inches
- Turn off power to that area of the home or business and locate studs with a stud finder.
- Use a carpenter’s square to mark the area.
- Cut along the lines to remove damaged drywall.
- Add wooden supports inside the wall.
- Cut a drywall patch to size and screw it into place.
- Tape the edges with drywall tape.
- Apply joint compound in layers, feathering edges.
- Let dry overnight. Sand and reapply if needed.
- Wipe with cloth before painting.
The Critical Priming Step
As with any DIY painting job, prepping is key to achieving the professional look you want. A little prep goes a long way during this final step before painting. A primer:
- Helps prevent paint absorption into porous filler materials, preventing uneven absorption and resulting in a smoother, consistent finish.
- Helps the paint adhere to the surface better and ensures even paint coverage and sheen.
- Creates a foundation and acts as a barrier to stains, moisture, and other contaminants, extending the life of the paint job.
- Creates a uniform surface for paint adhesion.
- Allows for fewer touch ups and repaints, saving time and money.
- Prevents peeling, blistering, and flaking of the paint, reducing repair time.
- Helps with color coverage especially when going from dark to light colors and vice versa.
- Helps reduce material costs by lessening the number of materials needed when the job is done right the first time.
- Prevents damage caused by mold, mildew, and high humidity.
Application Tips:
- Using high-quality bonding primer results in a more professional finish.
- Extend primer slightly beyond the repair area to create a smooth, uniform area.
- Allow full drying before painting. Check the primer can for drying instructions.
RELATED: When You Should Prime and When You Can Skip It
Common Mistakes to Avoid
- Skipping the cleaning step leads to poor adhesion. A well-prepared surface helps with every phase of the project and may be the most important.
- Applying filler too thick causes cracking and shrinkage.
- Not feathering edges creates visible repair lines and affects drying times.
- Rushing the drying process compromises repair integrity. Humid conditions may require longer drying times.
- Forgetting to prime results in uneven paint finish and a job that is not long-lasting.
When should you call a professional?
DIY jobs can be appealing with the idea of saving money and having a sense of accomplishment. But some jobs are simply too big or intimidating. It is important to know when it’s time to call professional house painters . Here are some general guidelines when to call a pro:
- Cracks wider than 1/4 inch (potential structural issues)
- Recurring cracks in the same location
- Extensive water damage
- Large holes requiring drywall replacement
- Time constraints for quality results. Pros can get the job finished quicker without compromising quality.
RELATED: Hiring a House Painter in Alabama? Ask These 4 Questions
Finish Strong: Wall Repair Steps That Make Paint Last
Now you know how to repair cracks in walls before painting. Proper preparation of your walls prior to painting can make a real difference in the outcome of your project.
The best way to achieve professional results is to do what the pros do: repair imperfections in the wall properly, use primer to create a solid foundation, remember painting technique matters, and use the right tools for each job. Also, pack your patience. Getting in a big hurry through each step can lead to mess-ups and unnecessary repairs which can be costly and waste time. Proper wall repair takes time!
If you find the paint project is simply too big or requires an abundance of repairs, contact Pro 1 Painters today.