
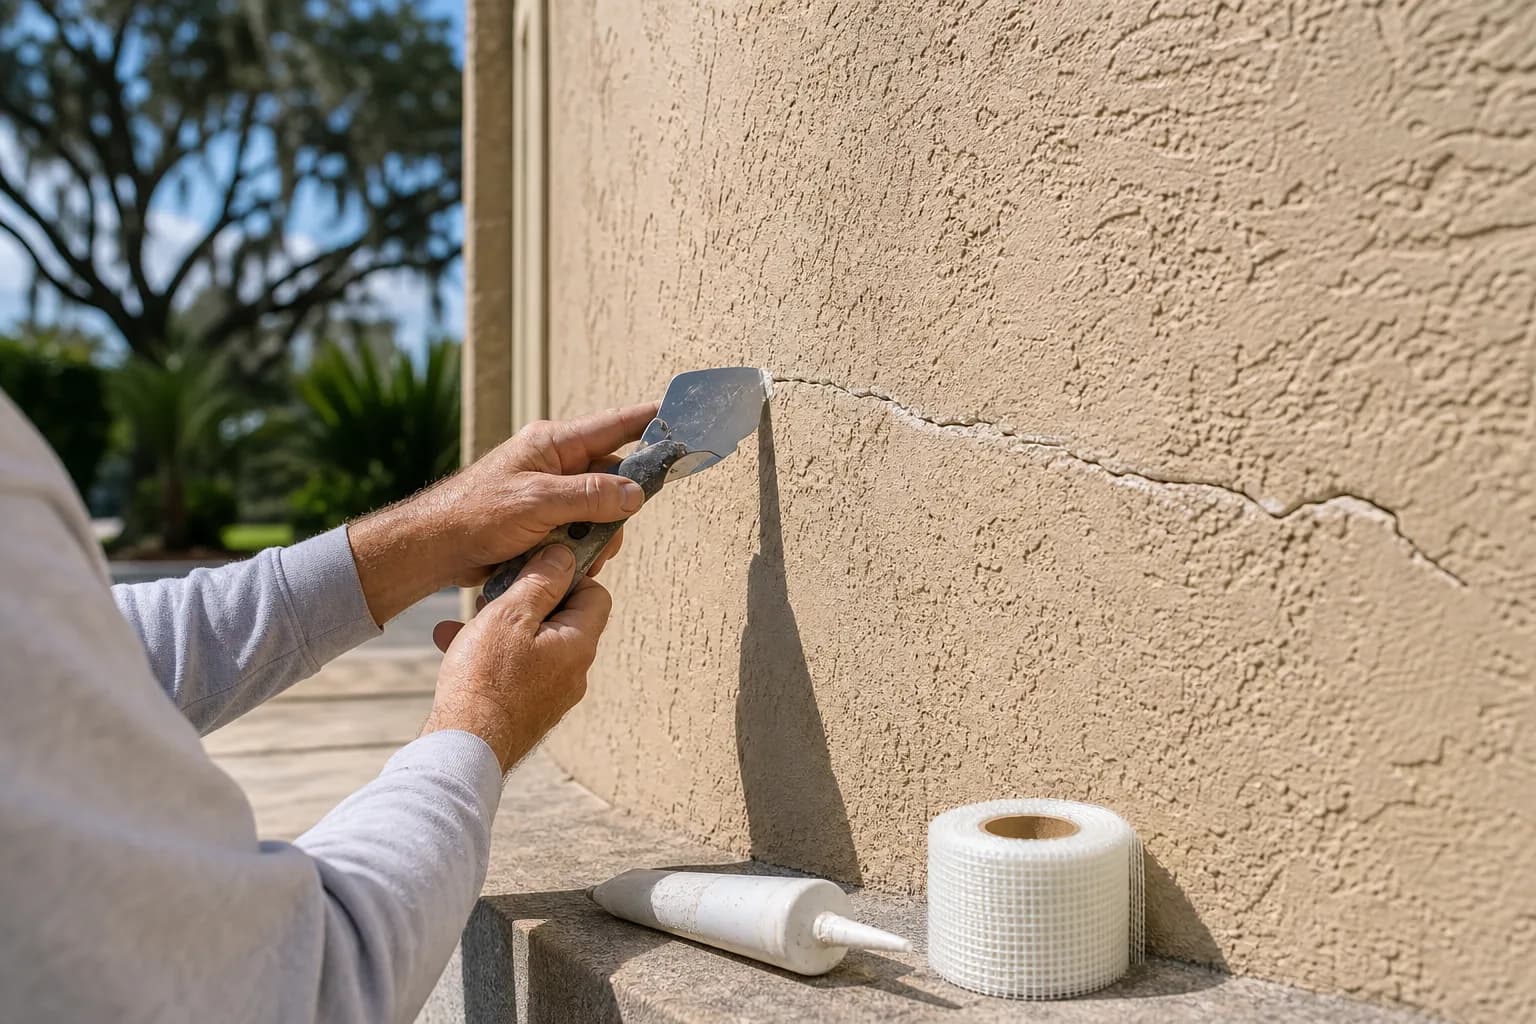
Grab a quarter and walk the sunny side of your house. Run the coin's edge across that crack you've been eyeing above the garage. Does it skate right over a thin line, or does the edge drop into the gap? That one move tells you more about your repair than any product label will — because on a stucco wall, the width of the crack decides everything that comes next.
Repairing stucco cracks before painting is a job a handy homeowner can absolutely do, as long as you sort the crack correctly first. Get that triage right and a weekend of patching buys you a paint job that lasts. Get it wrong — patch a moving crack like it's a cosmetic one — and you'll watch the same line tear back open through fresh paint by next rainy season. This is the DIY version: how to size up a crack, fix it by bucket, and know the moment to put the trowel down and call someone.
If the repair turns out to be bigger than a weekend, our stucco painting service can carry it from crack repair through the finished repaint.
Start with a crack triage, not a caulk gun
Answer first: before you buy a single product, sort your crack into one of three buckets, because the bucket dictates the filler, the technique, and whether this is a DIY job at all.
| Bucket | How to spot it | What it usually means |
|---|---|---|
| Hairline (under 1/16") | The coin edge skates over it; thin as a hair | Surface shrinkage as stucco aged and cured — cosmetic |
| Medium (1/16"–1/8") | A coin edge or fingernail catches in it | Minor settlement or seasonal movement — patchable |
| Wide or moving (over 1/8") | Gaps you can fit a pencil in, or cracks that reopen | The wall is still moving — diagnose before you patch |
Most cracks on a Gulf Coast home are the top two buckets, and those are squarely DIY. The hairline web you see on a sun-baked west wall is almost always shrinkage — the stucco shed a little moisture as it aged and crazed on the surface. Medium cracks come from the ordinary settling and seasonal expansion every house here goes through with our temperature swings. Both fill and paint just fine.
The third bucket is the one that ends weekend projects. A crack wider than a pencil, or one that keeps reopening after you've filled it, is telling you the wall behind it is still on the move — and no amount of filler fixes a moving wall.
How do you tell if a stucco crack is hiding a bigger problem?
Width gets you most of the way, but two quick checks keep you from patching over a real problem. Both take five minutes and no special tools.
First, tap. Knock along the crack and the stucco around it with the handle of a screwdriver. Sound, attached stucco rings with a sharp, high note. A dull, hollow, drummy sound means the stucco has let go of the wall behind it — it's delaminated, and a surface patch over a hollow spot just pops back off. That whole area has to be cut out and rebuilt, which is pro territory.
Second, press and look for soft wood. Push on the stucco beside the crack with your thumb. Any sponginess, or a crack that's weeping a rusty or chalky stain, points to water that's already gotten behind the wall. On the coast that's the real enemy: a crack you can barely see is wide enough for wind-driven rain to wick behind the stucco, where it soaks the framing and feeds rot. If the sheathing or trim behind a crack has gone soft, the repair isn't a patch — it's carpentry to replace the damaged wood first, then re-stucco, then paint. We dig into how that hidden water moves through a wall in painting stucco in a humid climate and trapped moisture.
How to repair stucco cracks before painting, step by step
Once you've triaged the crack and ruled out movement and rot, the repair itself is methodical. Here's the homeowner sequence for the cracks that pass the tests above.
Triage the crack by width
Run a quarter or fingernail across it and sort it: hairline under 1/16 inch, medium up to 1/8 inch, or wide and moving. The bucket decides the filler and whether it's DIY at all.Check for movement and trapped moisture
Pencil-tick both ends and watch for drift, tap for a hollow sound, and press for sponginess or soft wood. Any of those means stop and get the wall diagnosed before patching.Open and clean the crack
Cut a shallow V along hairline cracks with a painter's tool or church key so the filler can key in, then brush, vacuum, and blow out all dust and loose stucco down to sound material.Fill it to match the bucket
Knife elastomeric crack filler or masonry caulk into hairline and medium cracks; pack wider stable cracks with sanded patch compound and bed fiberglass mesh into anything that moves a little so it flexes.Texture, cure, then prime and paint
Stipple or sponge the patch to match the wall texture while it's workable, cure it a full day or more in our humidity, spot-prime with a masonry primer, then paint in a dry, rain-free window.
Two of these steps trip up DIYers on the coast specifically. Curing is the big one: our humidity means a patch that looks dry on top can still be damp underneath, and paint over a damp patch traps that water and blisters. When in doubt, give it an extra day. Texture-matching is the other — stucco comes in dash, sand, lace, and trowel finishes, and a smooth patch on a textured wall reads as a thumbprint even after paint. Practice your stipple on a scrap of cardboard until it matches, then commit to the wall.
For the deeper version of this same repair — sounding for delamination, meshing settlement cracks, and the repair-versus-coating decision once the wall is sound — our companion guide on stucco crack repair before painting walks through it in more detail.
The DIY-or-call-a-pro decision
Here's the honest line we'd draw if it were our own house. The whole point of the triage above is to land you on the right side of it before you buy materials.
| Do it yourself | Call a pro first |
|---|---|
| A few stable hairline or medium cracks | Cracks that keep reopening after you patch them |
| Cracks that pass the pencil-tick and tap tests | Hollow, drummy stucco or visible delamination |
| Solid stucco, no soft wood nearby | Spongy walls, soft trim, or rusty weeping stains |
| One wall, simple texture you can match | Web cracking spread across a whole elevation |
| You can paint in a dry stretch yourself | Cracks stepping off every window and door corner |
The reason to take the right column seriously is cost. A misdiagnosed crack means you buy materials, spend the weekend, paint the wall — and then watch it fail in a season, so you pay for the diagnosis you skipped plus a repaint on top. The diagnosis is most of the value, and it's exactly what a good crew does first.
Get it diagnosed and done right
If your cracks fall in the first two buckets and pass the movement tests, you've got a fair DIY weekend ahead — triage, open, fill to the bucket, cure, prime, and paint in a dry window. That's the formula, and it holds up on the coast when you respect the cure time.
When the cracks are telling you something bigger, that's our cue. Our exterior painting crew sounds the wall for delamination, checks for the moisture source, and repairs and seals the cracks correctly before any coating goes on — and for the full picture on protecting a coastal exterior, start with our exterior house painting guide for Mobile and Baldwin County. Family-owned since 2013, we run one accountable crew from your free in-home estimate through the final inspection, and our work carries a 3-year workmanship warranty. Reach out for a free estimate and a written quote within 24 hours. Pay by Cash, Check, or Credit Card.