
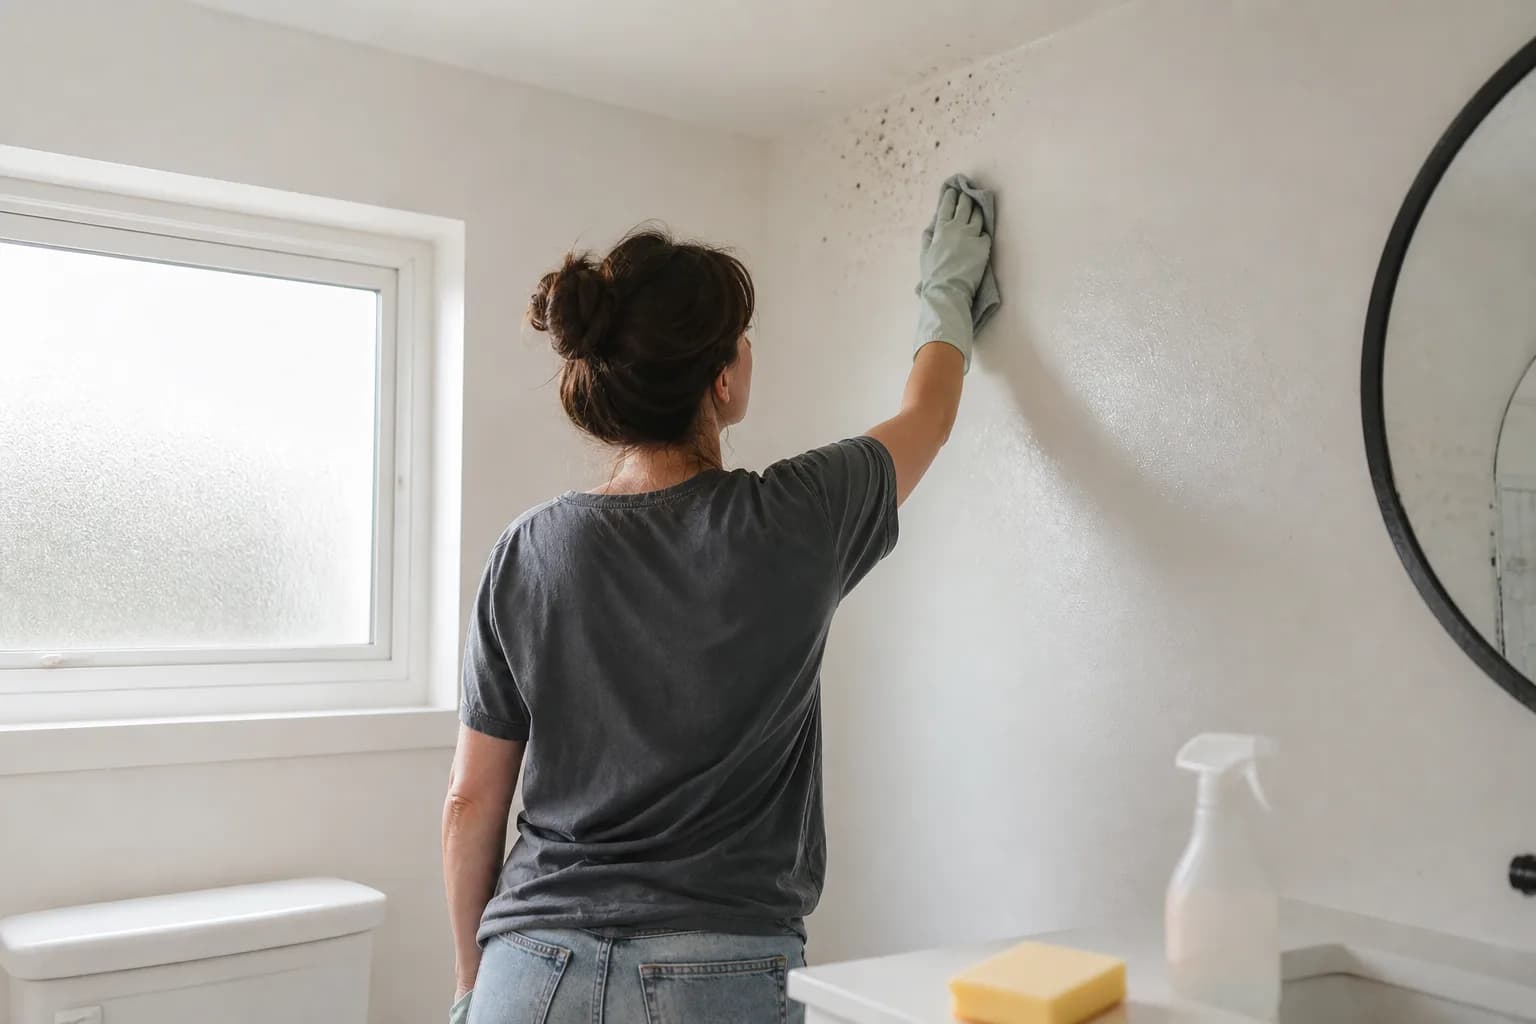
You go to repaint the guest bath and there it is in the corner above the shower — a spray of gray-black specks that wasn't there last spring. On the Gulf Coast, where the air carries moisture nine months a year and a north-facing wall barely sees the sun, that's one of the most common things we run into before an interior job. And here's the part people don't want to hear: you can't just roll a fresh coat over it.
If you want to remove mold from walls before painting and actually have it stay gone, you have to treat it as what it is — a moisture problem wearing a cosmetic disguise. Kill it, clean it, dry it, seal it, then paint it. Do those steps in order and the wall stays clean for years. Skip one and you'll be looking at the same specks by next summer. Here's exactly how we handle it.
Is it mold or mildew — and is it a paint problem or a moisture problem?
Answer-first: most of what shows up on an interior wall is mildew, a flat surface mold that cleans off, and almost all of it is really a moisture problem, not a paint failure. Knowing which you've got tells you whether you can clean and repaint or whether the drywall has to come out.
Mildew is the flat stuff — gray, black, sometimes a pinkish film — that you find on bathroom walls and ceilings, behind furniture on a cool exterior wall, and on the north side of a room that stays shaded and damp. It wipes away when you clean it. True mold is fuzzier and more three-dimensional, often green or black, and it can work its way into the drywall paper and the framing behind it. That's the kind that doesn't just wipe off.
| What you see | Likely it's | What it means for painting |
|---|---|---|
| Flat gray/black specks on a bathroom or north wall, wipes off | Surface mildew | Clean, dry, stain-block, repaint |
| Pinkish or orange film in a shower corner | Surface mildew/bacteria | Clean and repaint with a humid-room paint |
| Fuzzy, raised, or spreading green/black growth | True mold | May need drywall removed — assess first |
| Soft, crumbling, or musty-smelling drywall | Moisture in the material | Cut out and replace, don't paint over |
The reason this matters on the Gulf Coast specifically: our humidity does the work for the mold. A bathroom with a weak exhaust fan, a closet on an exterior wall, condensation forming where cool A/C meets a warm wall — any of those keeps a surface just damp enough to feed mildew on repeat. That's why the same wall grows it again and again. Paint is the last step, not the cure.
Step 1: fix the moisture before you touch the wall
Answer-first: find and fix whatever is keeping the wall damp before you clean or paint — otherwise the mildew comes back through your fresh coat no matter what product you use.
Walk the room and ask where the water is coming from. Is the bath exhaust fan actually pulling air outside, or just buzzing? Is there a plumbing drip behind the vanity? Is a north-facing or shaded exterior wall sweating because there's furniture pushed tight against it with no airflow? In a lot of Gulf Coast homes it's simple ventilation — a fan that doesn't run long enough, or a room that never gets a chance to dry out between humid days. Sometimes it's a real leak, and that's a different fix entirely. If a ceiling is involved, our guide to ceiling water stains and what causes them walks through tracing the source.
Until the moisture is handled, everything else is temporary. We won't put a finish coat on a wall that's still actively getting damp — it's not fair to the homeowner and it's not how a job lasts.
Step 2: remove the mold from the walls before painting
Answer-first: to remove mold from the walls before painting, kill the growth with a mold-killing cleaner or a diluted bleach solution, let it dwell a few minutes, then scrub lightly, rinse, and let the wall dry completely.
On a painted, non-porous wall, a diluted bleach solution — roughly one part bleach to three or four parts water — or a dedicated mold-and-mildew cleaner both do the job. The key word is dwell: spray or wipe it on and give it a few minutes to actually kill the spores instead of just smearing them around. Then scrub gently, rinse with clean water, and let it dry fully before anything else.
Ventilate and gear up
Open a window, run the fan, wear gloves and eye protection, and lay a drop cloth. Never mix bleach with ammonia or other cleaners — the fumes are dangerous.Apply the killer
Wet the affected area with a mold-killing cleaner or diluted bleach (about 1:3–1:4 with water) and let it dwell a few minutes.Scrub gently
Work the spots off with a sponge or soft brush. Don't gouge the drywall paper — you want it clean, not torn.Rinse and dry
Rinse with clean water and let the wall dry completely. Damp drywall wrecks primer adhesion and feeds new growth.
A note on scale: a few specks in a shower corner is a clean-and-repaint. A whole wall furred with growth, or drywall that's gone soft and smells musty, means moisture is in the material itself — and that needs drywall repair, not a coat of primer hiding the problem. Painting over compromised drywall just seals the mold inside.
Step 3: stain-block, then repaint with the right paint
Answer-first: once the wall is clean and bone-dry, seal any leftover staining with a stain-blocking primer, then topcoat with a quality mildew-resistant interior paint built for humid rooms.
Even after you kill and scrub mildew, a faint gray or black shadow can stay in the surface. Roll regular paint over it and that shadow ghosts back through within days. A stain-blocking primer locks it down so your finish stays clean. Then comes the topcoat — and this is where the right product earns its keep. Many bathroom and kitchen paints carry a mildewcide in the dried film, which slows regrowth on a wall that lives in humidity. It won't save a wall that's still getting wet, but on a clean, dry, properly prepped surface it's real insurance.
That's the whole order, and the order is the point: moisture, kill, clean, dry, stain-block, paint. We follow the same sequence on every interior job where mildew shows up, because prep is most of what makes a paint job last down here. If you want the bigger picture on diagnosing and fixing wall surfaces before paint, our drywall repair and texture-matching guide covers the rest of the prep that goes into a clean finish.
One last distinction worth making: everything above is for interior walls. If the gray-green staining is on the outside of your house — siding, soffits, the shaded north face — that's algae and mildew driven by exterior conditions, and the cleaning and prep are different. We cover that in removing mildew and algae from your house exterior before painting.
When to call a painter instead
Answer-first: call a pro when the growth keeps returning, covers a large area, or the drywall is soft, stained through, or musty — those are signs the problem is behind the wall, not on it.
A handy homeowner can knock out a few mildew specks in a bathroom on a Saturday. But recurring growth on the same wall, a musty smell that won't quit, or drywall that feels soft means the issue is structural moisture, and that's worth a trained eye. When we handle it, one accountable crew runs your job from your free estimate through the final inspection, a manager signs off before final payment, and the work is backed by our 3-year workmanship warranty. We're family-owned, we've been doing this on the Gulf Coast since 2013, and we'd rather fix the cause than paint over the symptom.
Seeing the same specks come back every summer? Get a free in-home estimate and we'll tell you straight whether it's a clean-and-repaint or something more — with a written quote within 24 hours, and you can pay by Cash, Check, or Credit Card.