
You peel back a corner of dated wallpaper, certain a free Saturday is all it'll take — and an hour later you've got half a wall of fuzzy torn drywall, a sink full of gummy paper, and a surface no paint should ever touch. Wallpaper removal is the classic "how hard can it be" project that turns into the part of the job that actually matters. Because here's the truth: the paint you put up later is only as good as the wall you leave behind after the paper comes down.
This is how to remove wallpaper before painting and get the wall genuinely ready — stripping the paper, clearing the glue residue, repairing the drywall the paper tore up, and leaving a flat, sealed surface ready for paint. Removing wallpaper before painting is the prep step that decides whether your new color looks like a fresh finish or a wallpapered wall someone painted over.
Why does painting over wallpaper backfire?
Answer-first: painting over wallpaper is a shortcut that almost always shows. The seams telegraph through the paint, the edges can lift, and the moisture in fresh paint may loosen the old adhesive — so a wall that looked fine on Sunday is bubbling by the end of the month. And you've made the eventual failure worse, because now the paper and the paint come off together.
There's also what's underneath. Wallpaper was often hung straight onto bare, unprimed drywall, so the glue bonded to the paper facing of the drywall itself. Until that paper and that glue are dealt with, you don't have a paintable wall — you have a problem waiting to surface through whatever you put on top. Removing it properly is the only path to a finish that lasts.
Strip the paper, then beat the glue
Getting the wallpaper off is two jobs, not one: the paper, and then the adhesive hiding under it. The paper is the satisfying part. The glue is the part DIY jobs skip — and it's the part that wrecks the paint.
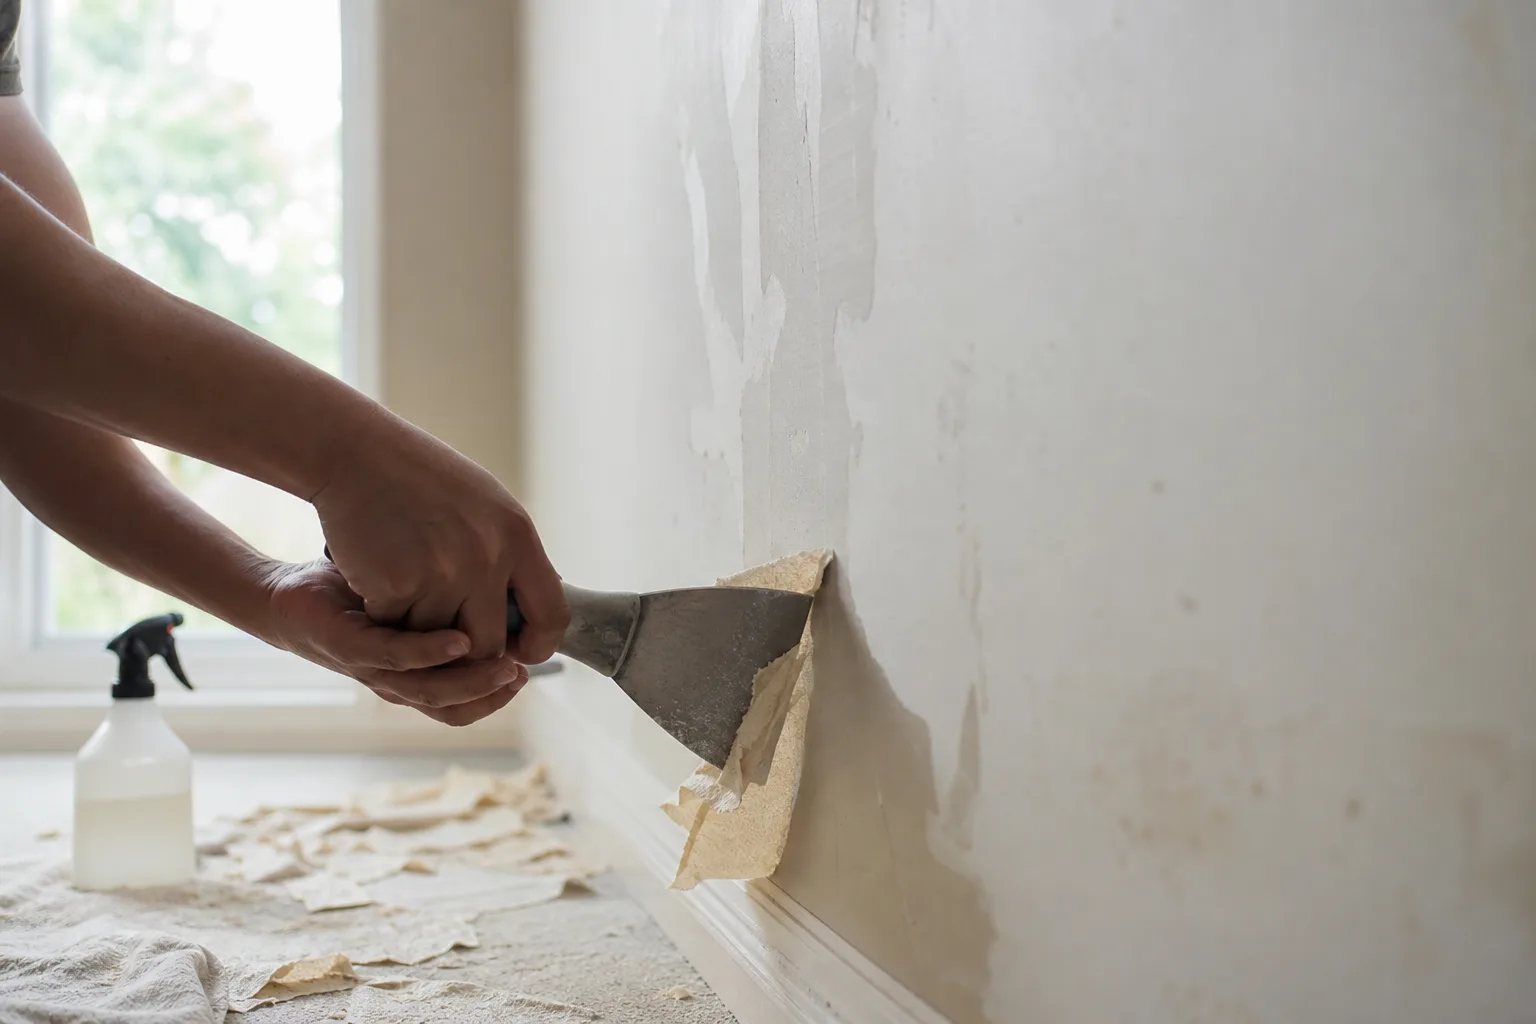
The paper comes off with moisture and patience. You score it so water can get behind it, soak or steam it until the adhesive lets go, and work a wide putty knife under a seam to peel it away in sections. Keep the blade low and the wall wet and the paper lifts cleanly; rush it dry and you gouge the drywall.
Then the glue. Even a wall that looks bare is usually still coated in adhesive — run your hand over it and it feels slick or tacky. Paint will not bond over that. So you wash the wall down with warm water and a glue remover, scrape the softened residue, and rinse clean until the surface dries to a clean, matte feel with no slickness left.
When the drywall tears up
Here's the surprise that derails most wallpaper jobs: the wall comes apart with the paper. Because the glue grabbed the drywall's paper facing, pulling the wallpaper lifts that top layer too, leaving fuzzy, torn, gouged spots across the wall. It's normal — and it's exactly the damage you have to fix before painting, not paint over.
The repair is a sequence: seal the torn drywall facing so it stops absorbing and going fuzzier, fill and feather the gouges with joint compound, and — where the wall is broadly rough or uneven — skim coat it smooth so the whole surface reads flat again. That skim step is its own skill; if you're facing a wall that tore up badly or a whole room of rough surface, our guide to skim coating a wall for a smooth finish walks through getting it dead-flat, and for serious gouges, repairing large drywall holes and resurfacing a wall covers the heavier patches.
The full step-by-step
Done right, wallpaper removal and wall prep is a methodical sequence with drying time built in. Here's the order we work in, from first score to primed and ready:
Score and soak the wallpaper
Score the paper so moisture gets behind it, then soak it with warm water or a removal solution — or steam it — and let it sit until the adhesive softens.Strip the paper
Work a wide putty knife under a seam and peel the softened paper away in sections, blade low so you lift the paper without gouging the wall, re-wetting spots that resist.Wash off the glue residue
Wash the bare wall with warm water and a glue remover, scrape the softened residue, and rinse clean until the wall is no longer slick or tacky.Let the wall dry completely
Give the wall time to dry fully so repairs, primer, and paint bond to a dry surface instead of trapping moisture behind them.Seal torn drywall and repair damage
Prime or seal any torn drywall facing and gouges so they stop absorbing, then fill and feather the damaged spots with joint compound.Skim coat rough areas smooth
Where the wall is rough or uneven, spread a thin skim coat of joint compound and sand it flat so the surface reads smooth under paint.Prime the whole wall
Prime the full wall to seal repairs and any residual glue and even out porosity, so the finish paint goes on uniform with no flashing.
When it's worth calling a pro
Stripping one accent wall is a fair weekend project. A whole room of old, stubborn paper — especially multiple layers, or walls that tear up badly down to torn drywall everywhere — is where it stops being fun and starts being a week of mess. The removal is slow, the glue washing is tedious, and the skim-and-sand work to get a torn-up wall flat again is a real skill. Plenty of homeowners get the paper off and then realize the wall is in worse shape than when they started.
If that's where you are — or you'd just rather skip straight to a finished room — that's our wheelhouse. Our drywall repair and painting crews strip the paper, clear the glue, repair the drywall, skim and prime, and lay down the fresh interior paint as one continuous job, so you get a smooth, finished wall without living in dust and wet paper for a week. For the bigger picture on wall repair and finishes, start with our drywall repair and texture-matching guide.
When you're ready, we'll come out for a free in-home estimate and send a written quote within 24 hours, backed by our 3-year workmanship warranty. You can pay by Cash, Check, or Credit Card. Family-owned and serving the Gulf Coast since 2013.