
It starts as a soft brown bloom low on the living room wall, or a swollen seam behind the toilet, or a dark streak that showed up the morning after a storm pushed rain sideways into the house. Water has been somewhere it shouldn't, and now you're standing there wondering whether you can clean it up and paint, or whether there's a real repair behind that stain. On the Gulf Coast — hurricane season, summer downpours, and the kind of humidity that won't let anything dry on its own — it's a question we answer a lot.
Get the call right and you save yourself from two bad outcomes: tearing out a wall that only needed a coat of stain-blocker, or painting over board that's quietly rotting and feeding mold behind your fresh finish. Here's how to do drywall repair after a water leak or storm the right way — finding the hidden moisture, deciding what to replace versus patch, and refinishing it so the damage disappears for good.
First: stop the water and dry it completely
Before any drywall comes out or any primer goes on, the source has to be dead and the wall has to be dry. This is the step people rush, and rushing it is what guarantees a repeat. Repair damp board and you seal moisture inside the wall, where it rots the gypsum and grows mold behind paint that looks perfect for about a month.
Track down where the water came from. Plumbing leaks usually start at a fixture, a supply line, or a drain inside the wall. Storm intrusion tends to come in high — around the roofline, eaves, window heads, or a failed bit of flashing — and travel down. Until you know the source and it's fixed, you're not repairing anything; you're scheduling the next stain.
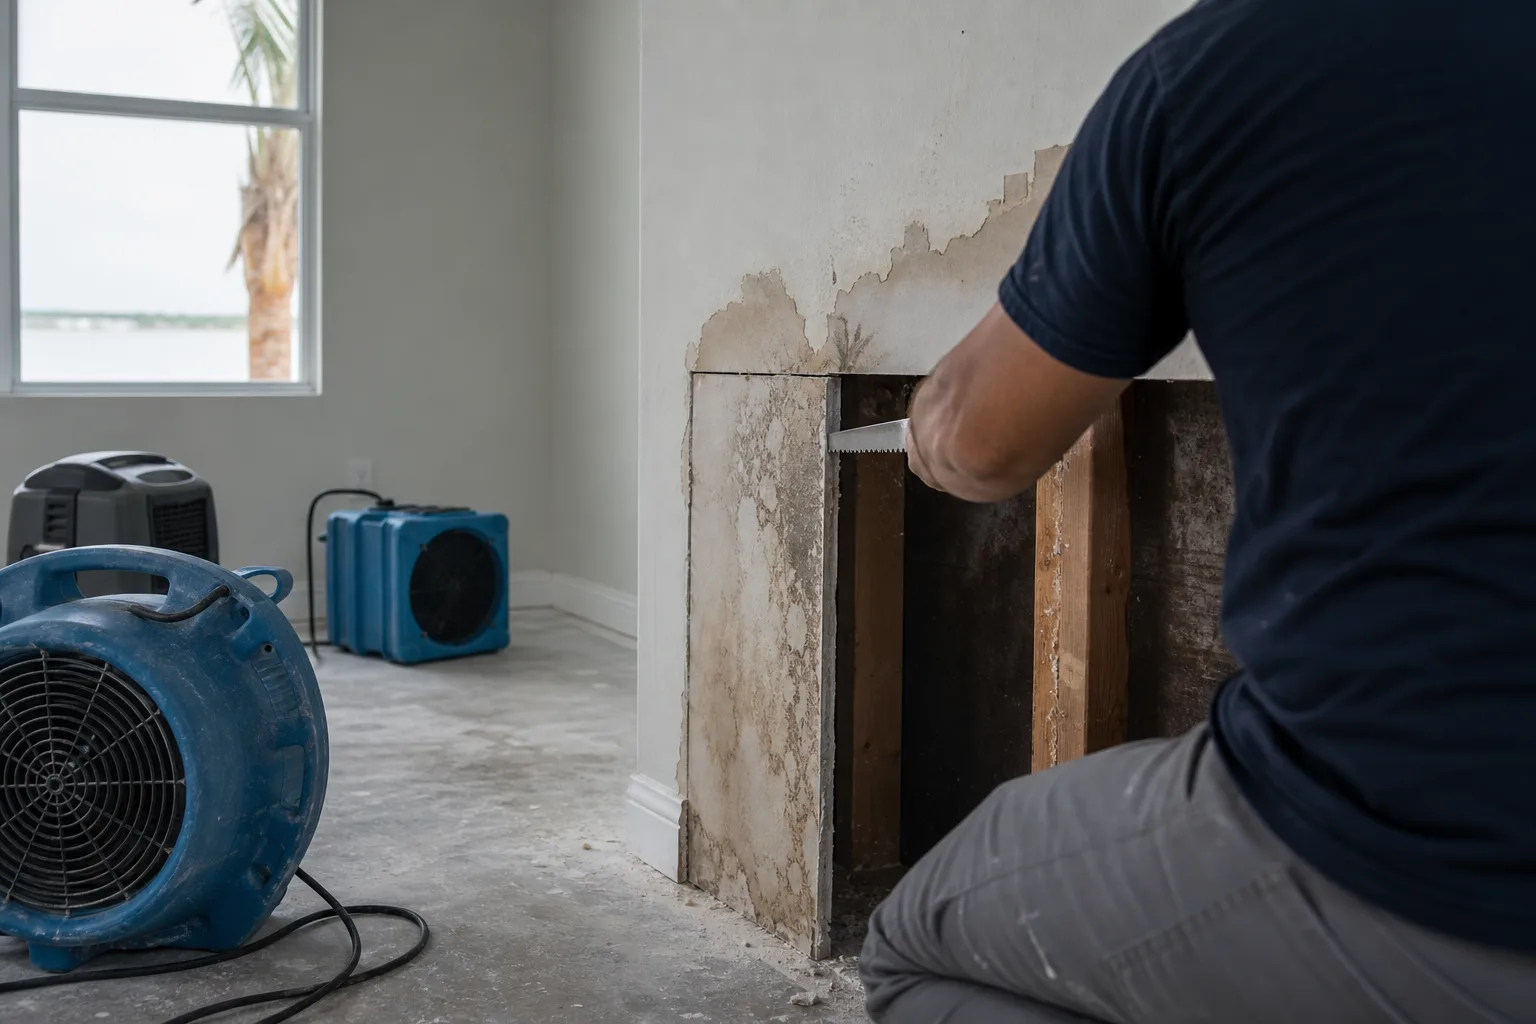
Then dry it for real. Open the cavity if you need to, run fans and air movement, and give it days, not hours. Our humidity fights you the whole way, so "dry to the touch" isn't dry — the core can still be saturated behind a surface that feels fine.
Find how far the water actually traveled
The wet area is almost always bigger than the stain. Water wicks sideways and downward through drywall and framing, so the mark you see is the middle of the damage, not the edge of it. Map the real extent before you decide what to cut.
Look below and to both sides of the visible stain, where gravity and wicking carry the water. Pull a baseboard and check the bottom plate and the wall cavity behind it — a surprising amount of leak damage hides down low where trim covers it. Press for soft spots well past the discoloration. The goal is to find the boundary between board that's still sound and board that's been compromised, because that boundary, not the stain line, is where your repair starts.
This is also where storm damage can fool you. Wind-driven rain can run inside a wall and pool somewhere completely different from where it got in, so the stain on the bedroom wall might trace back to a problem at the eave two rooms over. After a storm, it's worth checking the exterior envelope too — a repaint isn't the fix if water is still finding a way in, which is part of why we treat post-storm exterior repaints as sealing the house up, not just freshening the color.
Replace or patch: how do you make the call?
Once the source is fixed and you know the real wet zone, the drywall itself tells you what it needs. Press it, look at it, smell it.
| What you find | What it means | Replace or patch |
|---|---|---|
| Firm, dry, lightly stained | Surface stain, core intact | Patch — seal and repaint |
| Soft or spongy to the touch | Gypsum core saturated and weakened | Replace that section |
| Swollen, bulging, or seams lifting | Board has absorbed water and failed | Replace |
| Crumbling or falling apart | Core has lost all integrity | Replace |
| Black, green, or musty growth | Mold the paper is feeding | Replace — and address moisture |
The rule of thumb is simple: dry and firm gets sealed and painted; soft, swollen, crumbling, or moldy gets cut out. A stain-blocking primer is a great tool for a stain, but it's only a tool for the stain — it does nothing for a gypsum core that's lost its strength, and it can't make mold safe to leave in the wall. Plenty of leaks, caught and dried fast, leave nothing but discoloration on still-sound board, and those are a clean prime-and-paint. The ones that sat wet are the ones that need new drywall.
Cutting out and rebuilding the wet section
When the board has to come out, replacing it is a sequence — and doing it in order is what makes the new section vanish into the old wall instead of standing out as a repair.
Cut back to sound material
Cut the damaged drywall out in a clean rectangle, back to dry, firm board and to the center of the studs on each side so the new piece has solid framing to land on. Cut to where the wall is sound, not just to where the stain ends.Treat and dry the framing
With the cavity open, confirm the studs and bottom plate are dry and sound, treat any surface mold on the framing, and let everything dry fully. Insulation that got wet usually comes out too. New board never goes over wet framing.Hang new drywall
Cut a piece of matching-thickness drywall to fit, screw it to the studs flush with the surrounding wall face, and add backing where a seam doesn't fall on framing so the patch can't flex.Tape and float the seams
Bridge every seam with tape bedded in compound, then build two to three coats, each wider than the last, feathering far past the seams so there's no ridge for light to catch.Texture, prime, and repaint
Match the wall's texture across the repair, seal stains and bare compound with the right primer, then repaint the full wall corner to corner so the new work disappears into the old.
Two details decide whether the finished wall looks repaired or untouched. Use a real stain blocker — an oil- or shellac-based primer — over any remaining discoloration before you paint; ordinary latex lets a water stain ghost right back through. And paint to a natural break — corner to corner, or wall to trim line — rather than spot-painting the patch. Aged paint shifts color and sheen, so a touch-up over fresh repair almost always flashes as a slightly different patch right where you worked hardest to hide it. The whole logic of feathering wide, matching texture, and priming is the same one we walk through in our drywall repair and texture matching guide; the texture-blending specifics for knockdown and orange-peel walls live in how to match drywall texture.
Drywall repair after a water leak, done in one pass
Drywall repair after a water leak or storm really comes down to three honest questions: is the water truly stopped, how far did it spread, and is the board it left behind still sound. Answer those and the rest follows — seal a stain on dry, firm drywall; cut out and replace what's soft, swollen, or moldy; match the texture; and repaint the whole wall so nothing gives the repair away.
It's also a job where one crew handling the drywall and the paint together saves you a parade of trades and a wall that doesn't quite match. Pro 1 Painters has been a family-owned Gulf Coast crew since 2013, and we handle drywall repair and painting as a single job — assess the damage, replace what's failed, blend the texture, and repaint so the wall reads as one surface. One accountable crew runs it from your free estimate through the final inspection, a manager signs off before final payment, and it's all backed by our 3-year workmanship warranty and a 4.8-star reputation. If a leak or a storm left a mark on your wall, book a free in-home estimate and we'll tell you straight whether it's a seal-and-paint or a cut-and-replace, then email a written quote within 24 hours. Pay by Cash, Check, or Credit Card.