
You did everything right. You kept the leftover paint, you found the scuff, you dabbed it on — and now there's a faint patch on the wall that catches your eye every time you walk past, lighter or shinier or just different than everything around it. The touch-up didn't blend. It announced itself.
That patch has a name. Painters call it flashing, and it happens because the repair reflects light differently than the wall around it. Your eye is remarkably good at catching that difference, even when the color looks like a perfect match in the can. The good news: flashing isn't random. It comes from a short list of causes, and once you know how to touch up interior paint so it blends, you can beat every one of them — or know when the only real fix is repainting the wall. (If you're still deciding whether a mark even needs paint, our guide to cleaning scuffs and marks off painted walls first covers when a wipe-down handles it instead.)
Why do paint touch-ups flash instead of blending?
Before the technique, the why — because every blending trick below is really just defeating one of these five causes.
The color is slightly off. Even a store color-match is a hair different from the paint already on your wall, and walls fade over years of sunlight so the original color on the can no longer matches the faded wall. A close-but-not-exact color reads as a patch.
The sheen is wrong. This is the one people miss most. Two cans can be the identical color but different sheens — flat versus eggshell, satin versus semi-gloss — and a sheen mismatch flashes hard even when the color is perfect, because gloss is about how much light bounces back.
The patch is too thick. Pile paint on and it builds a raised edge and a denser spot that throws its own shadow and reflects more light than the thin coat around it.
The texture doesn't match. A wall that was rolled has a fine stipple to it. Brush a smooth patch into the middle of that stipple and the difference in texture catches the light, color match or not.
Fresh over old. New paint sitting next to years-old paint simply looks newer — cleaner, often slightly brighter — until the surrounding wall is the same age.
Paint touch-up tips that make a repair disappear
With the causes in mind, the technique is straightforward. The order matters, and so does restraint — thin and feathered beats thick and obvious every time.
Use the exact same paint and sheen
The original can, stirred thoroughly, is your best shot — same color code, same product, same sheen. If it's gone, get a store color-match and confirm the sheen, because a sheen mismatch flashes even when the color is dead-on. This one step settles two of the five causes at once.Prep the spot so it absorbs evenly
Wipe off dust and grease. If you filled a hole, sand the patch flush and spot-prime the bare filler — unprimed spackle drinks up paint faster than the wall and leaves a dull halo, which is flashing from the prep side.Match the original tool and apply thin
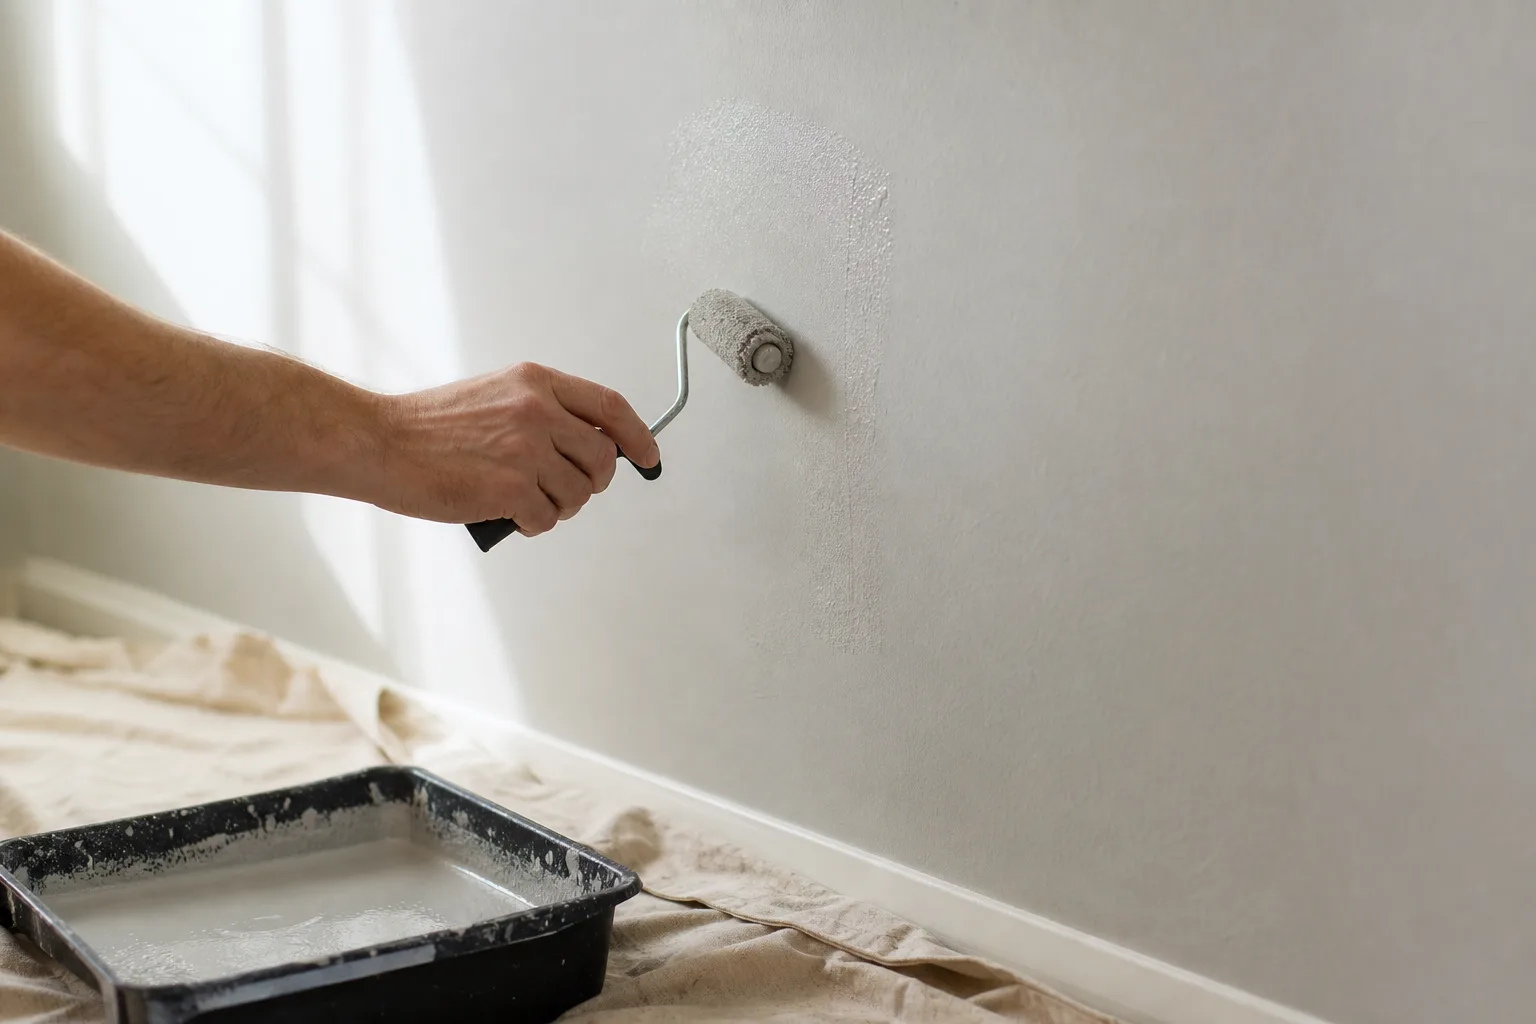
If the wall was rolled, dab the spot with a small mini-roller so the new paint carries the same stipple as the wall. Load it lightly and lay down a thin coat — two thin coats blend, one thick coat builds an edge you'll always see.Feather the edges to nothing
Start in the center of the repair and work outward with steadily lighter pressure, thinning the paint out so it fades into the wall with no hard line. The goal is no detectable border between new paint and old.Dry, judge, and decide
Let it dry and cure fully — sheen and color settle as it dries, so don't judge it wet. Look in daylight and under the room lamps. If a second thin coat still flashes, the wall itself needs repainting.
The two ways to blend: feather, or box to the corners
There are really only two blending strategies, and choosing the right one for the spot is half the battle.
Feathering is for small, isolated repairs on flat or matte walls — a single scuff, a nail hole you filled, a chip behind a door. You apply paint to the center and thin it outward to nothing, so there's no edge. On a flat sheen that scatters light, a feathered touch-up genuinely vanishes.
Boxing to the corners is for everything else. When the spot is large, the damage is clustered, the paint has faded, or the wall is satin or semi-gloss, you stop fighting the edge and repaint the entire wall from one natural break to the next — corner to corner, trim line to trim line. Those natural breaks hide the only seam, so the whole wall reads as one uniform surface. It's more paint and more time, but on a higher-sheen wall it's the only path to an invisible result.
Set future touch-ups up to win
The easiest invisible touch-up is the one you planned for. Keep the leftover paint sealed, labeled with the room and sheen, and stored somewhere stable — our guide to storing leftover paint the right way makes sure the can is still good when you need it. And since flawless touch-ups start with a flawless wall, fixing wall imperfections before painting and the full interior house painting guide for Mobile and Baldwin County homes cover doing it right from the first coat.
When the touch-ups have stacked up or a wall just looks tired, a fresh repaint beats chasing patches. Our interior painting crews match, prep, and roll it so the whole room reads even — backed by our 3-year workmanship warranty. Get a free in-home estimate whenever you're ready.