
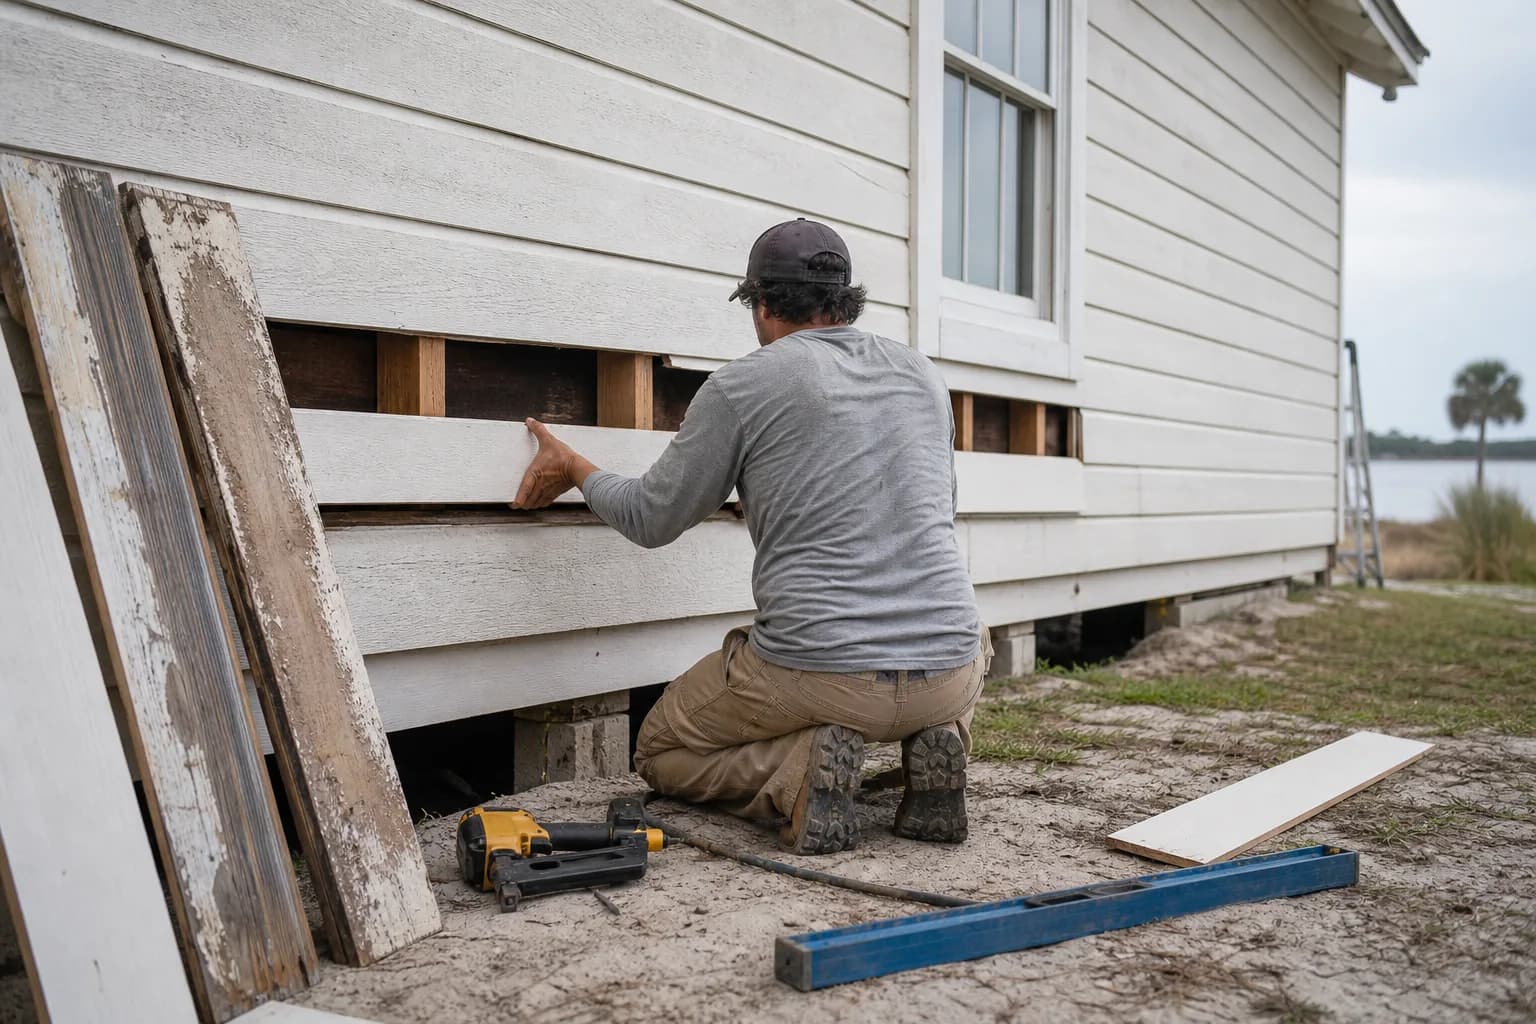
A few bad boards don't mean a whole new wall. Done right, siding board replacement is invisible: you pull the bad wood, match what goes back, blend the seams, and paint it into the wall so nobody can find the repair. The whole trick is matching the board profile and exposure, staggering the seams, and priming every face before the finish ties it into the surrounding coat.
Somewhere along the side of the house there's a split lap, a soft rotted spot under a window, a board that's pulled loose and started to cup — and a fresh repaint quote that just paints over all of it. From the driveway it might disappear for a season. Up close, the damage is still spreading under the new coat, and any patch done carelessly telegraphs through as a rectangle of mismatched boards. Here's how we approach replacing damaged siding boards on Gulf Coast homes and making the new blend seamlessly into the old.
Why does a siding patch show — or disappear?
A siding repair gives itself away for four reasons, and every one of them is avoidable. The boards don't match the profile, so the lap lines don't line up. The butt seams get stacked in a vertical column instead of staggered, drawing the eye straight to them. The new wood gets skipped on primer, so it weathers differently than the wall around it. Or someone spot-paints just the new boards instead of feathering the finish into the existing coat, leaving a fresh rectangle. Get those four right and the repair vanishes.
The reason it's worth getting right here specifically is our climate. On the Gulf Coast, board ends and end grain are where siding fails — they wick water, and our humidity keeps them damp long after a rain. So a sloppy patch with unsealed ends and stacked seams isn't just ugly; it's the exact spot the next round of rot starts.
This is the same coastal-moisture story that drives rot in trim, fascia, and railings — we lay out the full picture in our carpentry, paint prep, rot, fascia and trim guide, and the trim-specific side in exterior trim repair before painting. Field siding follows the same rules; it just covers more wall.
Matching the boards: profile first, paint second
Blending starts long before the paint. The single biggest factor in whether a repair disappears is the profile match — the lap width, the thickness, and the shape of the board. Match that, set the new boards to the same exposure as the existing courses so the shadow lines stay even, and you're most of the way there. When an old profile isn't sold anymore, the detail can be milled to match rather than forcing a close-enough board that reads wrong.
| Blending factor | Done right (disappears) | Done wrong (shows) |
|---|---|---|
| Board profile | Same lap width, shape, thickness | Close-enough board, lap lines off |
| Seams | Butt joints staggered course to course | Seams stacked in a vertical column |
| Priming | All faces and cut ends sealed | Bare new wood left to weather |
| Finish | Painted into the wall, feathered | New boards spot-painted as a patch |
Paint is the last 20% of the blend, not the first. New boards and weathered boards never start the same color or texture, so the whole repaired area gets primed and finished together and feathered into the surrounding coat. If you're matching a manufactured siding like fiber cement, the texture and prep have their own quirks — we get into those in how to paint Hardie board siding on the Gulf Coast and painting wood lap siding here.
The replacement, step by step
Once we know which boards are going and we've matched the profile, the work follows the same order every time: fix the cause, replace the wood, then blend it in.
Find the damage and check behind it
Map the split, rotted, or loose boards, then pull one and inspect the housewrap, flashing, and sheathing behind it. Fix any water source — a leak or bad flashing — before new siding goes back, or the repair fails on the same schedule.Match the profile and exposure
Identify the exact siding profile and lap width and source matching boards, or mill the detail when an old profile is discontinued. Set new boards to the same exposure as the existing courses so the shadow lines stay even.Remove the bad boards cleanly
Free the damaged boards without cracking the sound courses above and below, releasing fasteners and working the boards out so the surrounding siding stays intact and ready to receive the new pieces.Cut, fit, and stagger the seams
Cut the new boards to fit and weave the butt joints so they're staggered, not stacked in a column. Fasten into solid framing with corrosion-resistant nails set at the right spot so the courses lie flat and the repair blends.Prime every face and cut end
Prime the new boards on all reachable faces and seal every cut end before or right after install. Bare end grain is where moisture and the next rot get in — sealing it is what makes the new wood last.Caulk, then paint into the wall
Seal the joints and laps with a flexible exterior sealant, then prime-coat and finish the repaired area into the surrounding paint, feathering the finish so the patch disappears instead of showing as a fresh rectangle.
The two steps people rush are the two that decide the job here. Staggering the seams is what keeps the repair from reading as a block of new boards — stack them and the eye finds the patch from the street. And sealing every cut end is what keeps the new wood from rotting first, because raw end grain in our humidity is an open door for water. The cutting and fitting is craft; the seam layout and the sealing are what make it last and disappear.
One crew for the boards and the finish
The reason siding repair is worth handing to a crew that does both carpentry and painting is that the replacement and the blend are one job, not two. Match the profile, fix the cause, set and fasten the boards, seal the ends, prime, and feather the finish into the wall — done in sequence by one accountable crew, with a manager sign-off before final payment, so the repair disappears instead of showing as someone else's patch.
That's how we run it: carpentry to replace the boards and exterior painting to blend them in, handled together and backed by our 3-year workmanship warranty. Book a free estimate and we'll find every bad board, tell you straight what's a spot repair versus a larger section, and put a number in writing within 24 hours.